Nobody's perfect, and neither is any product! That's why your customers will always have questions and seek immediate help when they hit a snag. They desire swift answers without the hassle of emails or chats. This is where a self-service help center comes in handy, and guess what? We believe Notion is an incredible tool for creating just that. Notion, coupled with Notiondesk, can work wonders for your knowledge management.
In this article, we will guide you on how to build a robust, user-friendly help center using Notion and Notiondesk. We will walk you through the process, providing actionable steps and tips to create and customize your help center in no time!
TABLE OF CONTENTS
- 1. Using Notion for Knowledge Management
- 2. Building a Help Center on Notion (Option 1)
- 3. Building a Help Center on Notion with Notiondesk (Option 2)
- 4. Conclusion
1. Using Notion for Knowledge Management
Notion is more than just a note-taking app. We see it as an all-in-one workspace where you can manage private and public knowledge. Whether you're jotting down your thoughts or developing an extensive public knowledge base, Notion has you covered.
The beauty of Notion lies in its flexibility. You can create simple notes, complex databases, and everything in between. More importantly, it lets you structure your content precisely as you want, making information retrieval quick and painless. It's a potent tool that simplifies the process of gathering, organizing, and sharing knowledge.
In the following sections, we'll show you how to leverage Notion's features to build your help center.
2. Building a Help Center on Notion (Option 1)
Let's dive into creating your help center directly within Notion.
1. Creating a Public Page in Notion
Your first step is to create a page in Notion. This will serve as the cornerstone of your help center. Here's how to do it:
- Open your Notion workspace.
- Click on the "+ New Page" button in the left sidebar.
- Name your page – something like "Help Center".
Now that you have a page, the next step is to make it accessible to your customers by sharing it publicly.
2. Sharing Your Page Publicly
- Click on the "Share" button at the top-right of your page.
- Toggle the button that says "Publish to web” on the “Publish” Tab.
- Click "Copy Web Link" to grab the public URL for your page. You can now share this URL with your customers!
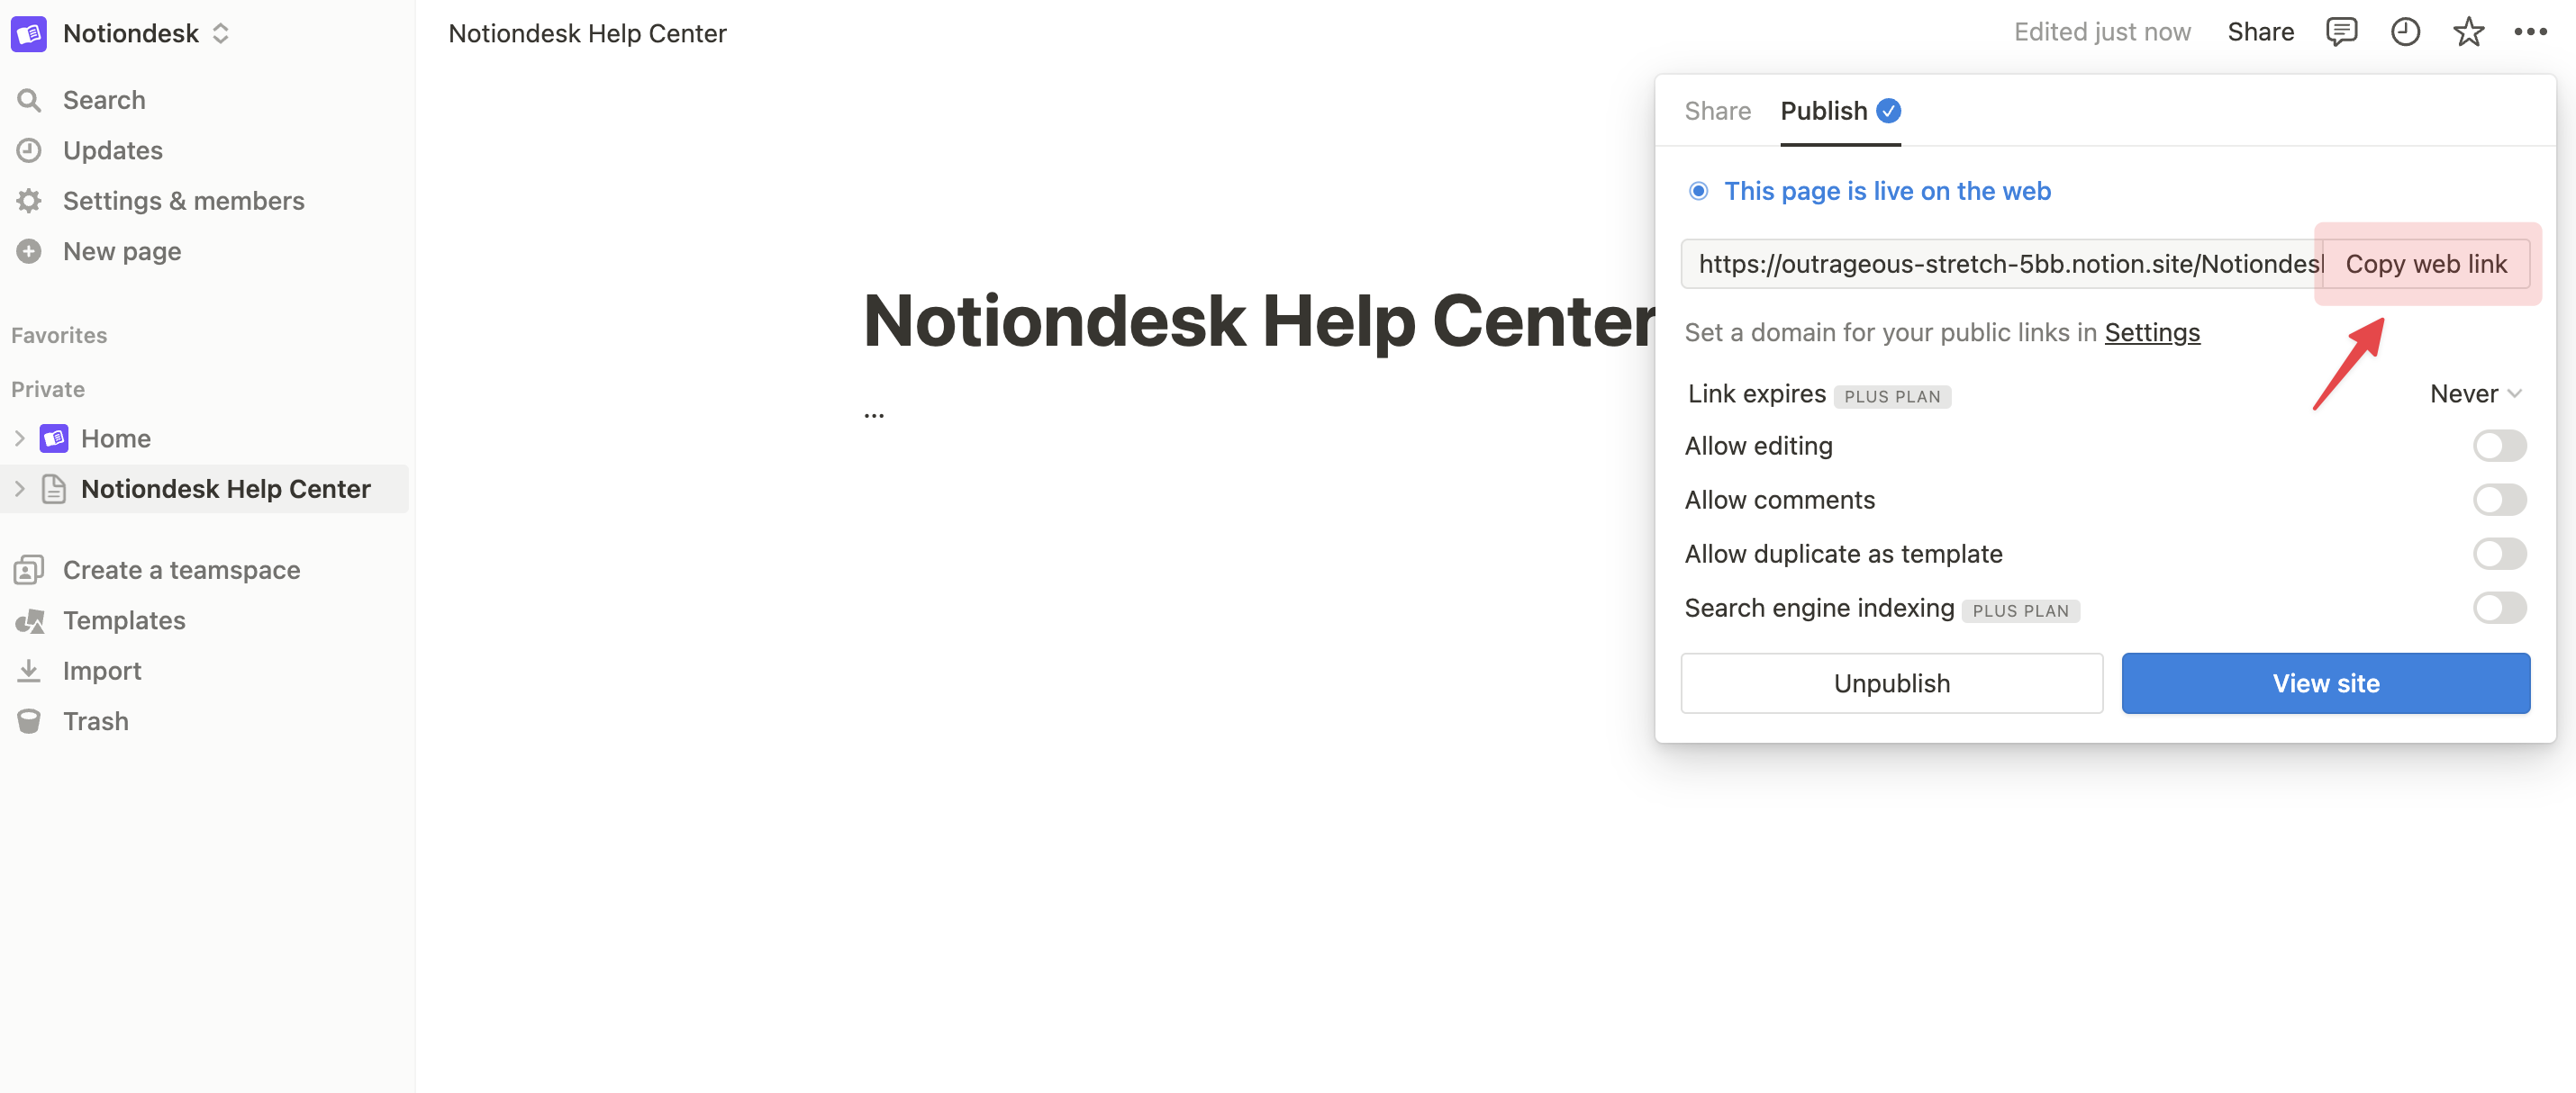
And voilà, your Notion page is now public and ready to serve as the foundation for your help center!
3. Activating Search Engine Indexing
Next, let's discuss how to improve the visibility of your help center. By activating Search Engine Indexing, you make it possible for your content to appear in search results, which is crucial for SEO efforts.
Here's how to activate it:
- Click on the "Share" button at the top-right of your page.
- Look for the "Search Engine Indexing" option and toggle it on.
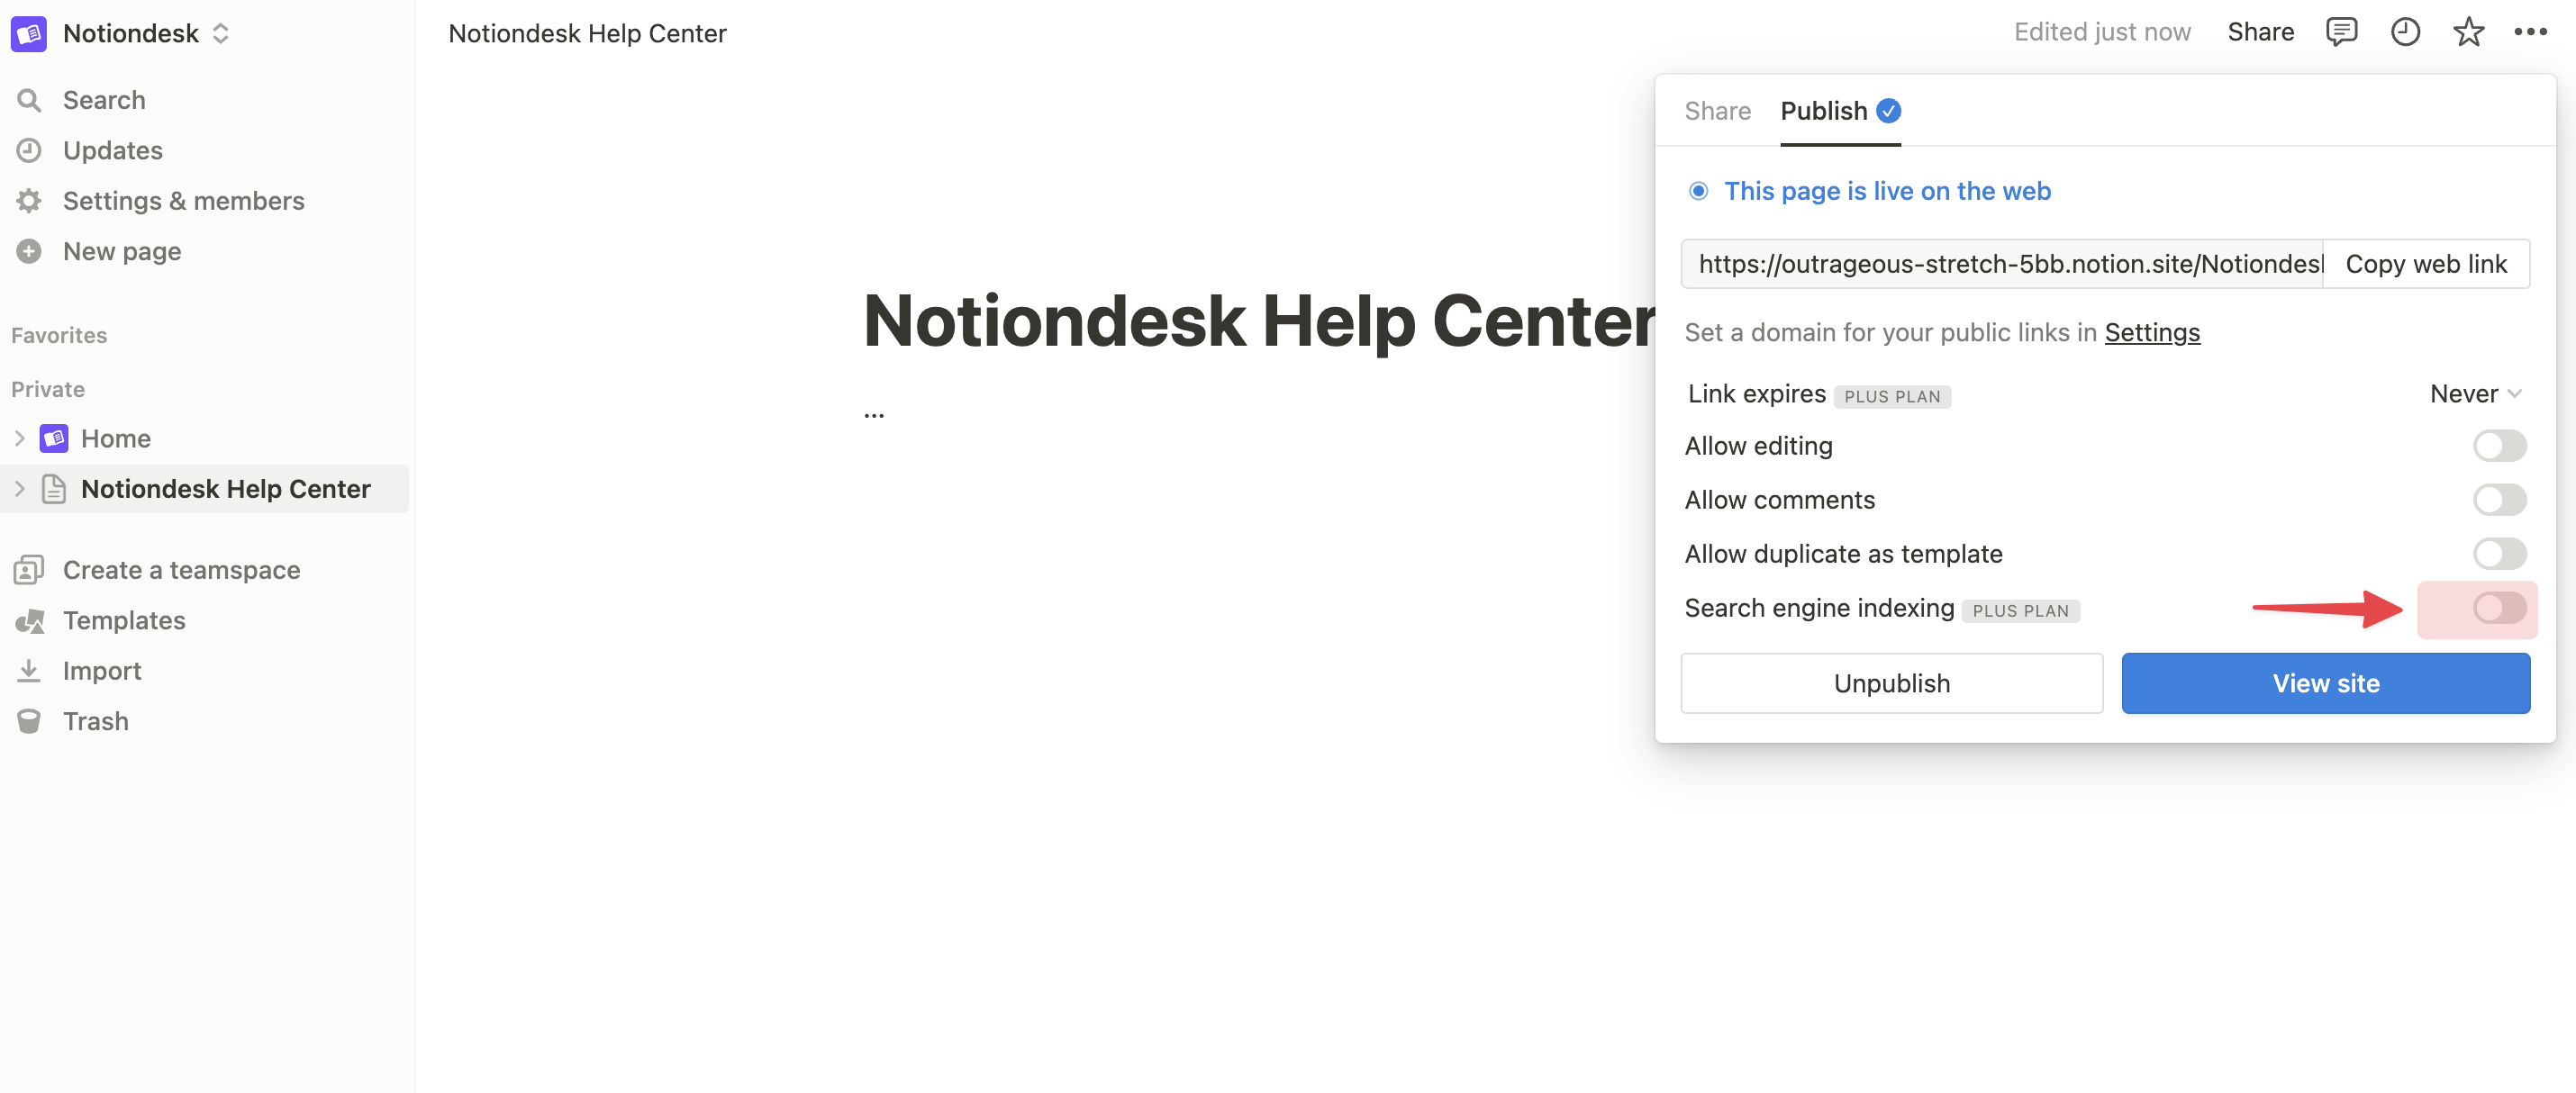
Now, your help center has the potential to be discovered organically through search engines, increasing your reach and visibility!
4. Structuring Your Help Center
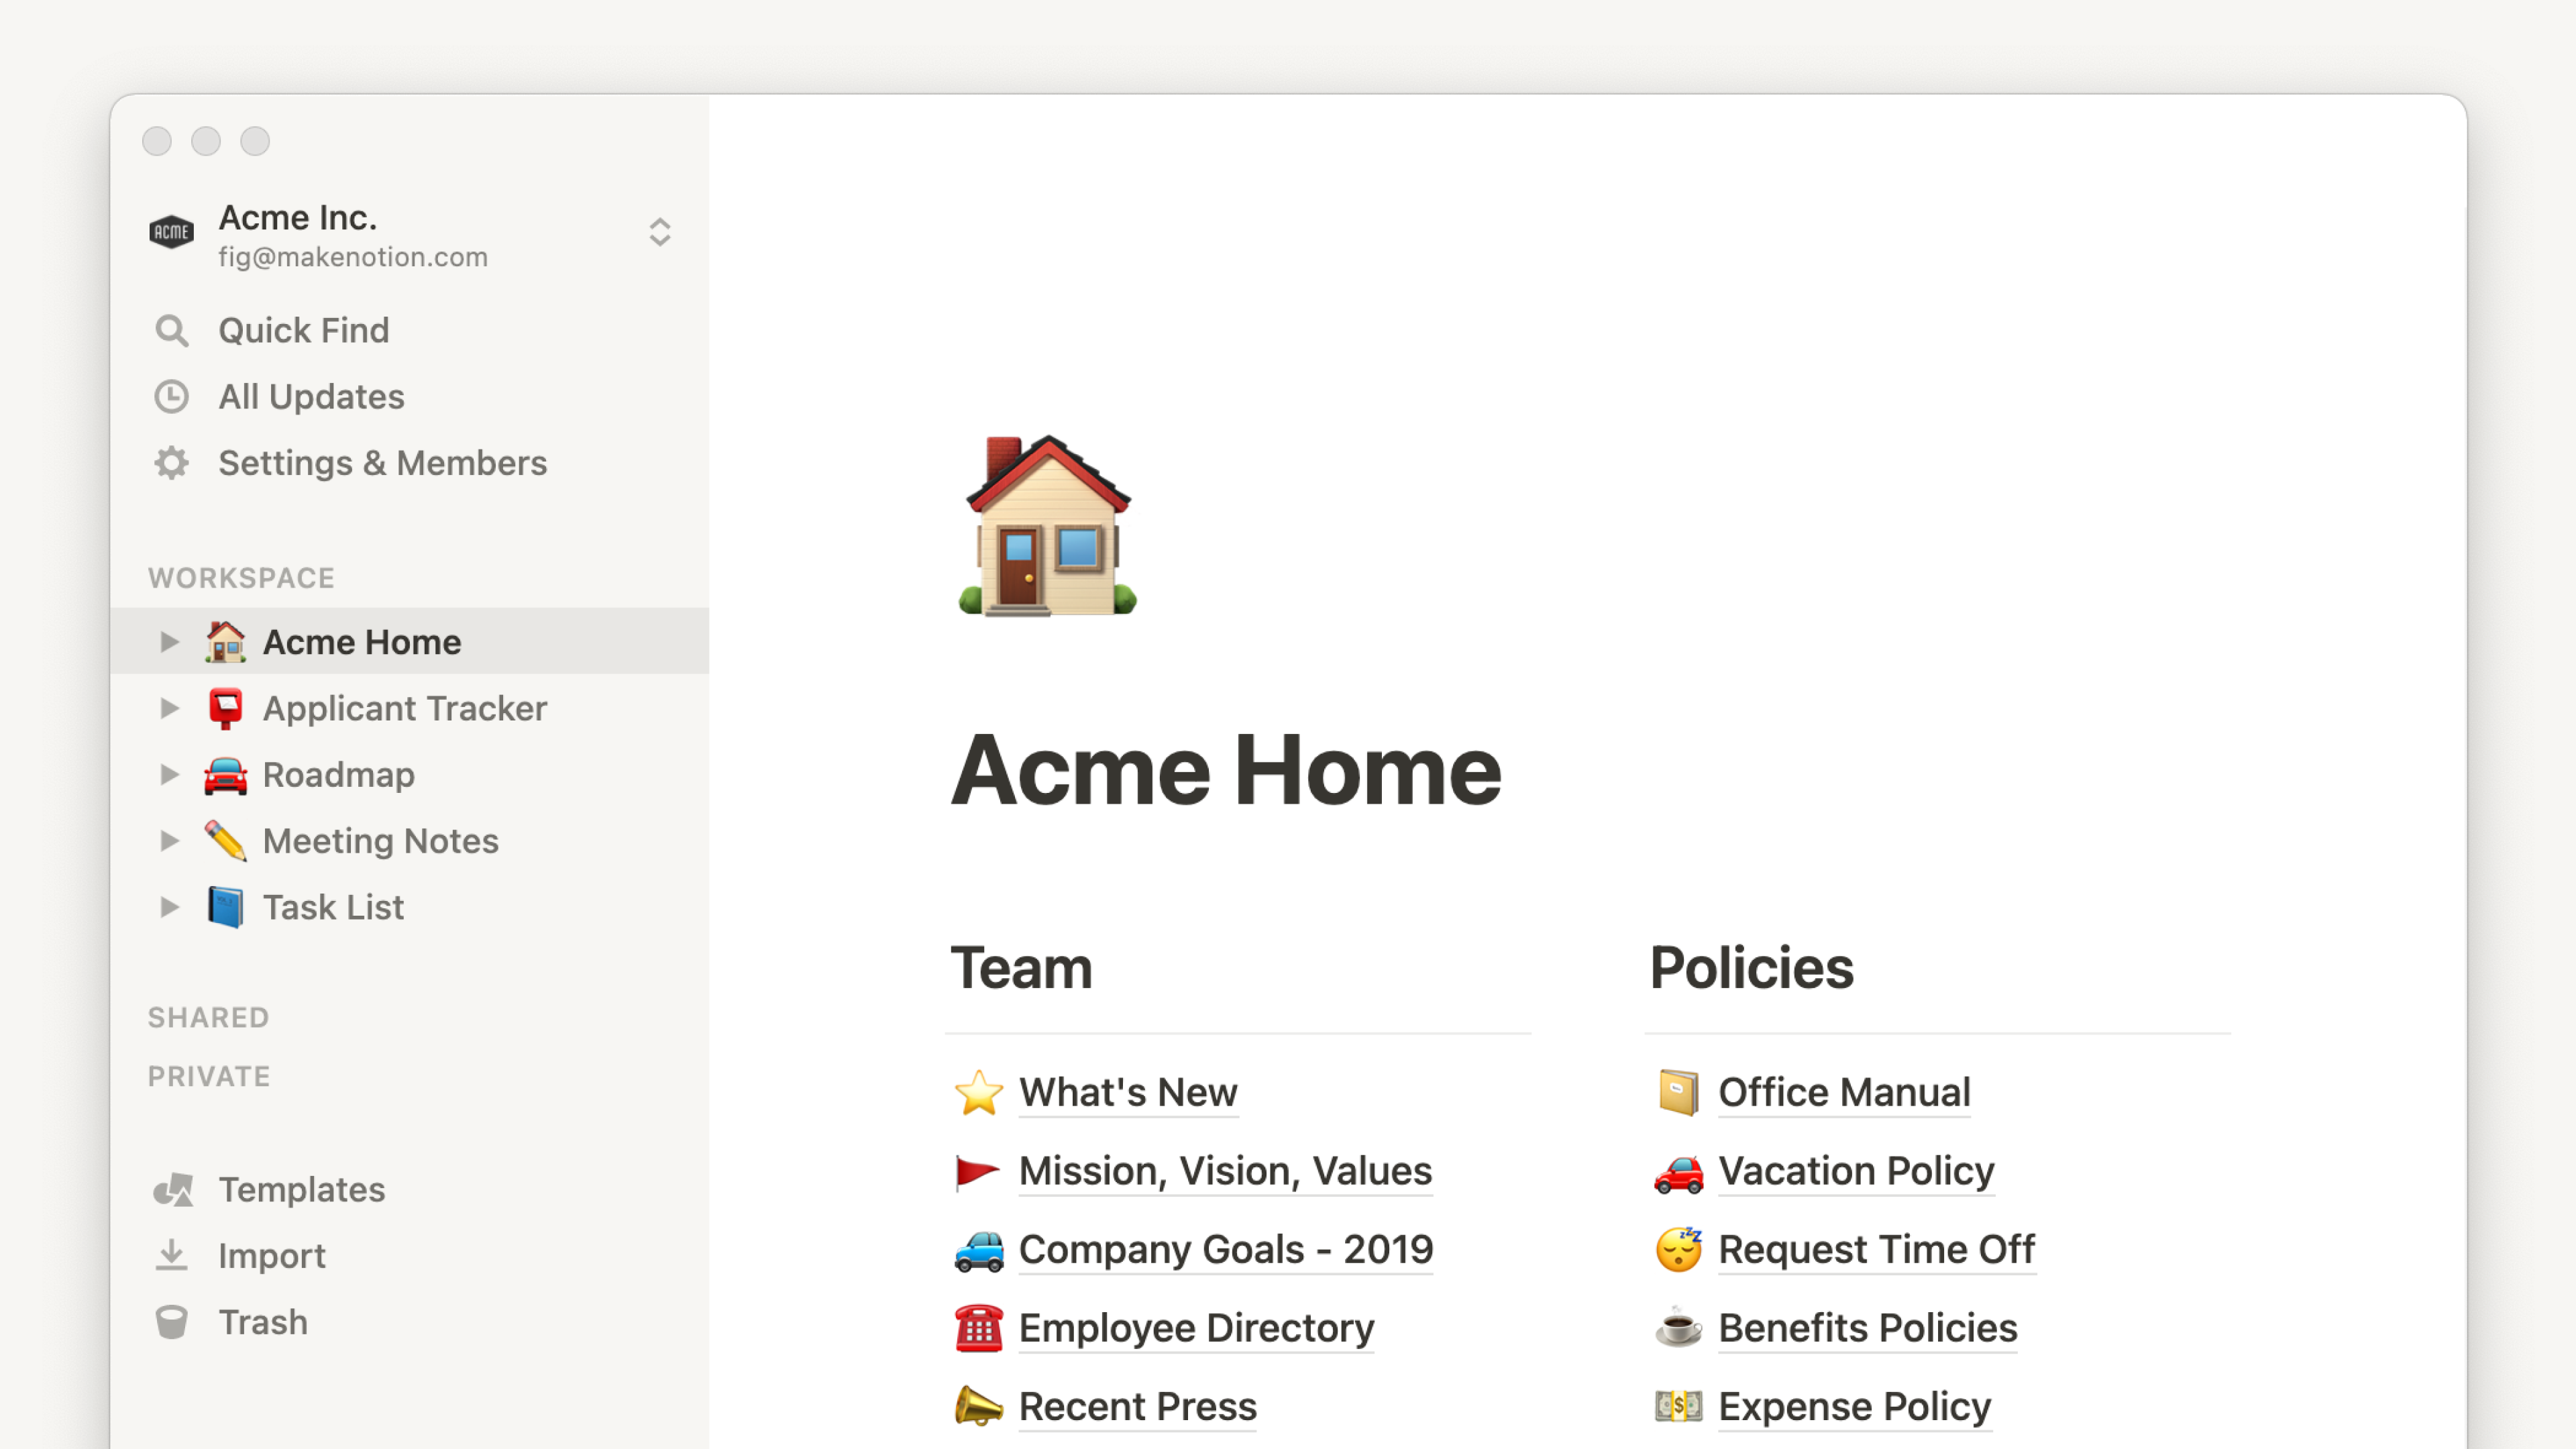
A well-structured help center is user-friendly and allows customers to find the information they need quickly. With Notion, you can use sub-pages, sections, and columns to categorize and structure your content.
For instance, you can create different pages for each product feature or common topic. These pages can then be linked back to the main help center page, providing a clear and logical path to the information.
Well done! You've just built your own help center using Notion. But what if you want to take it a step further? Let's explore an alternative approach 😀
3. Building a Help Center on Notion with Notiondesk (Option 2)
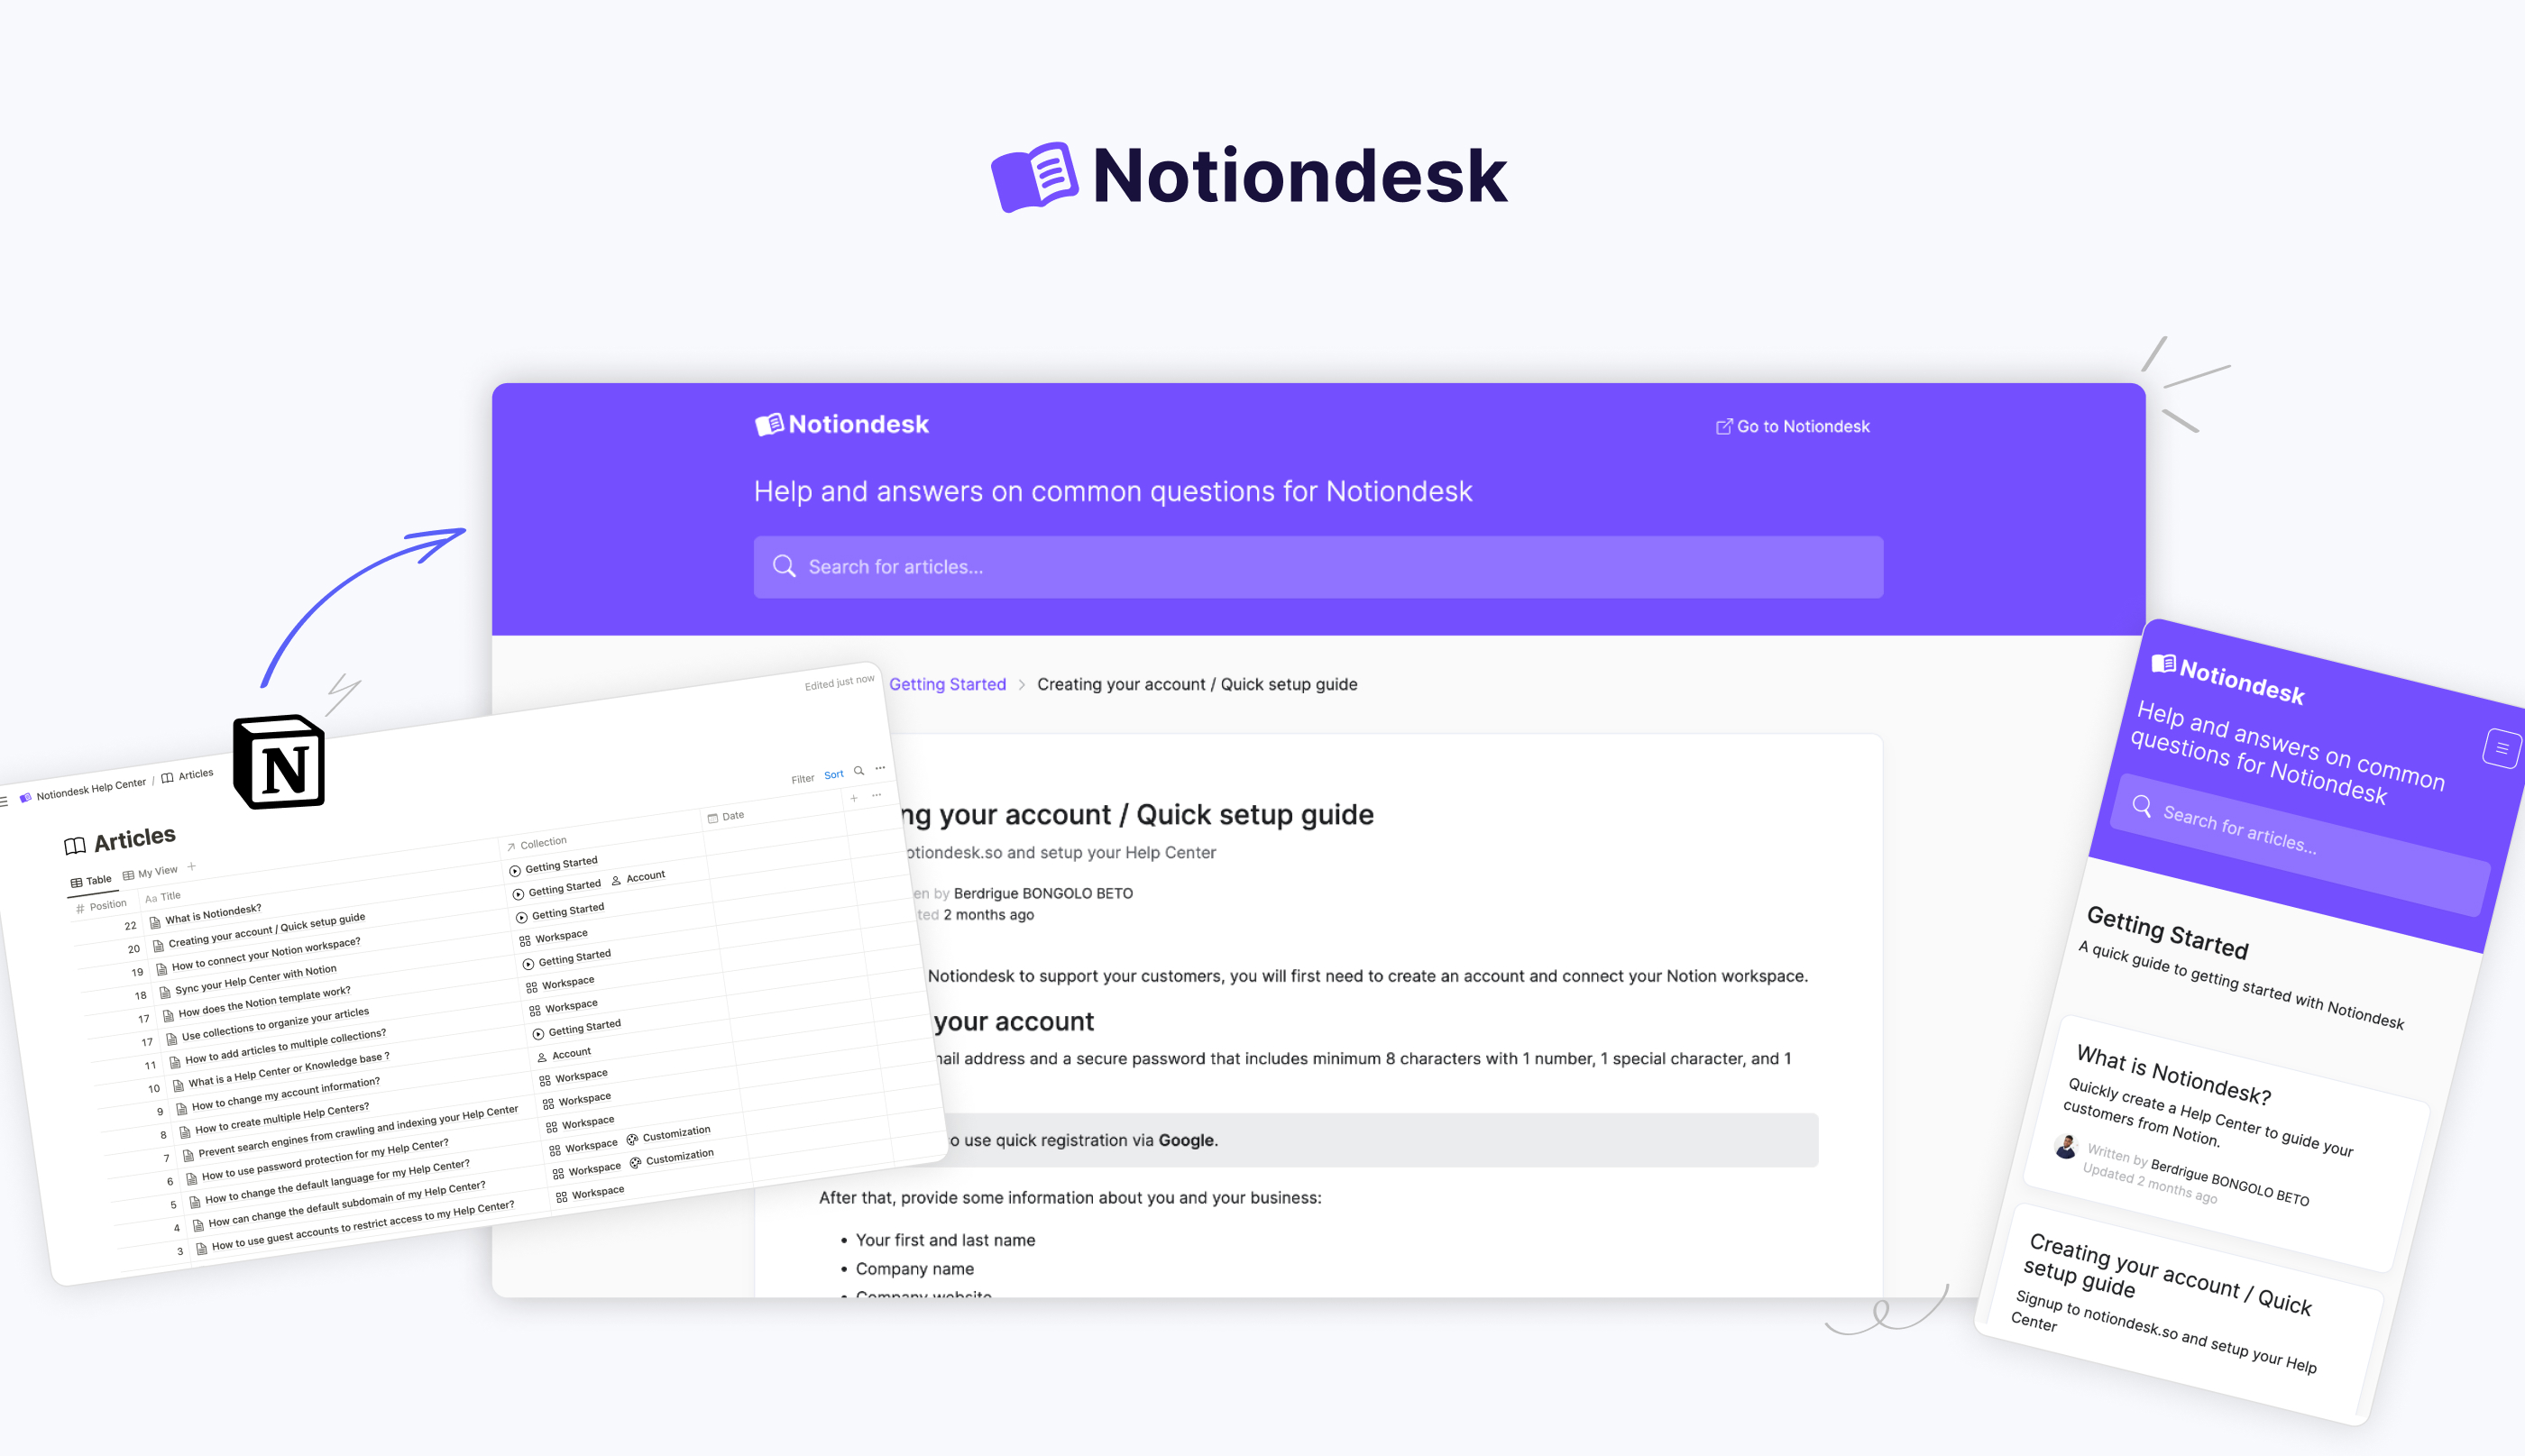
While Notion provides a solid foundation for creating a help center, we can turn your Notion public pages into a fully functional website. Enter Notiondesk - a powerful tool that adds more layers of customization and functionality to your help center. It allows you to modify the look and feel of your help center, attach a custom domain for a more professional presence, add search functionality, and much more. Let's get started!
1. Signing Up for a Notiondesk Account
The first step is to sign up for a Notiondesk account. Once you have your Notiondesk account set up, you can duplicate our Notion template and connect it to your Notion workspace. Here's how:
- From your Notiondesk, duplicate our Notion Template.
- Connect your Notion workspace by pressing the "Connect to Notion page" button.
- Select your Help Center page from Notion.
With these steps, your Notion and Notiondesk are now perfectly synced. Any changes made on Notion will reflect on your Notiondesk Help Center.
3. Continuing to Manage Your Content on Notion
One of the significant benefits of using Notiondesk is that you can continue to manage your content on Notion, just as you always have. This means you can write, edit, organize, and structure your help articles on Notion, and Notiondesk will automatically reflect those changes in your help center.
This seamless integration eliminates the need for learning new tools or migrating data.
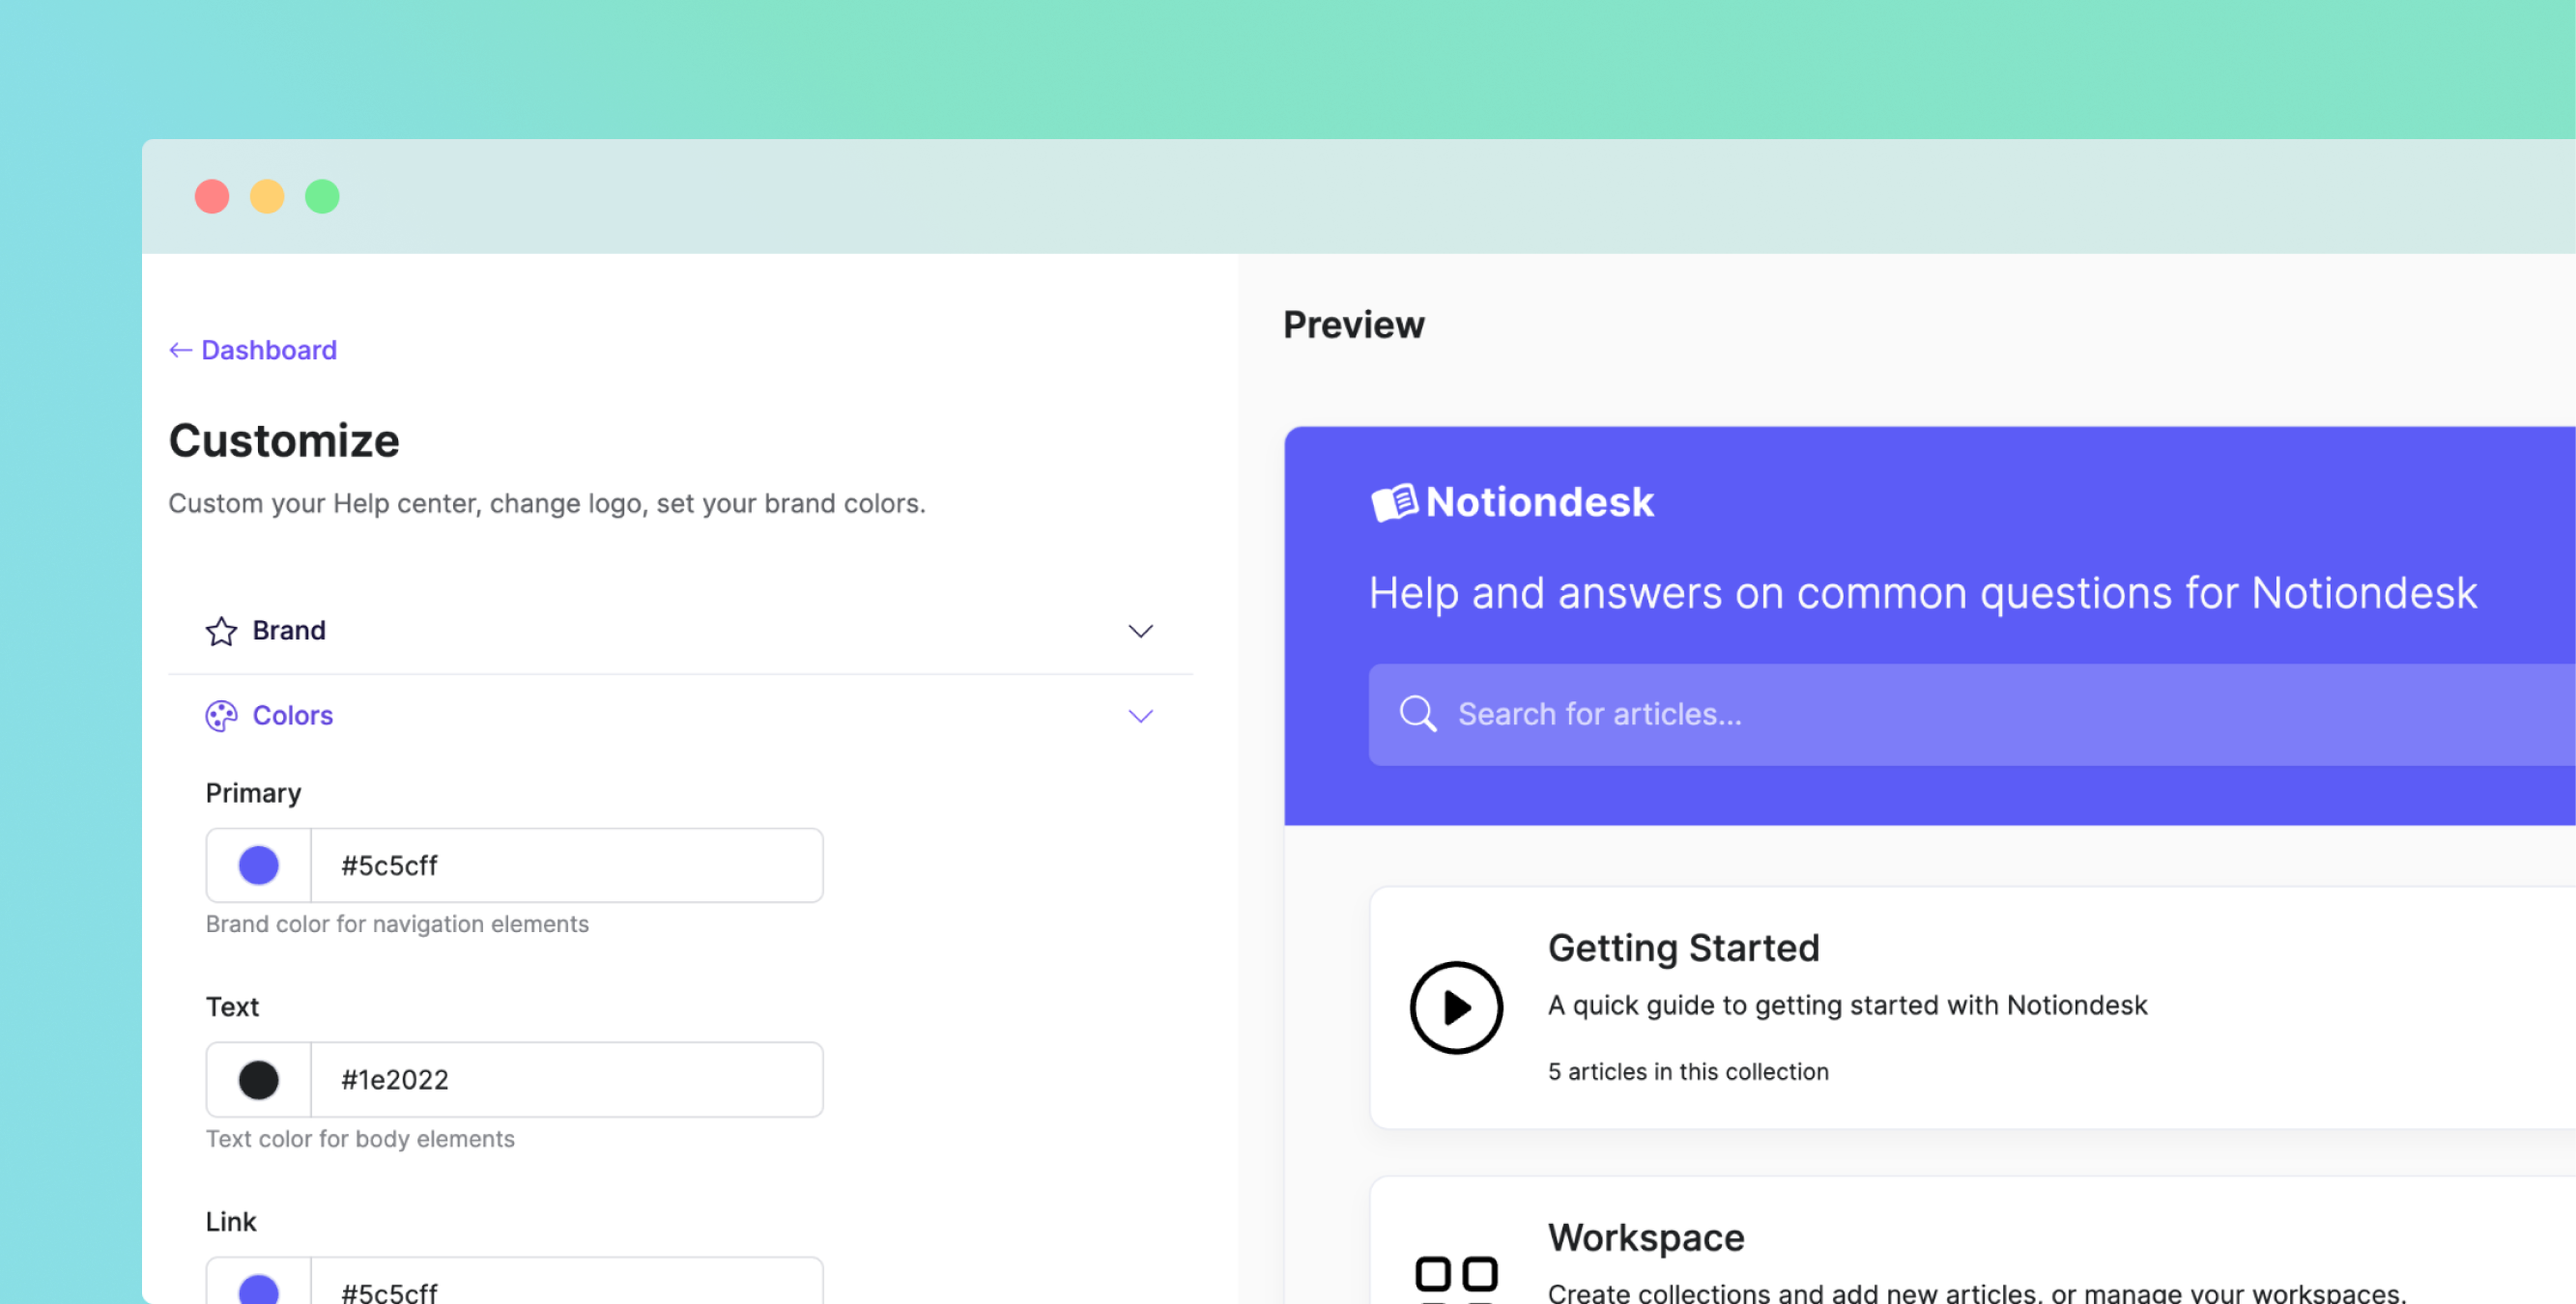
4. Customizing Your Help Center
With Notiondesk, you get extensive customization options to make your help center match your brand's style. You can customize your logo, colors, fonts, and even the overall theme of your help center.
To customize your help center:
- Go to your Notiondesk dashboard.
- Select the "Customize" option.
- You can upload your logo, choose your colors and fonts, and select your preferred theme from here.
By customizing your help center, you will create a consistent brand experience that reassures your customers and enhances their trust in your service.
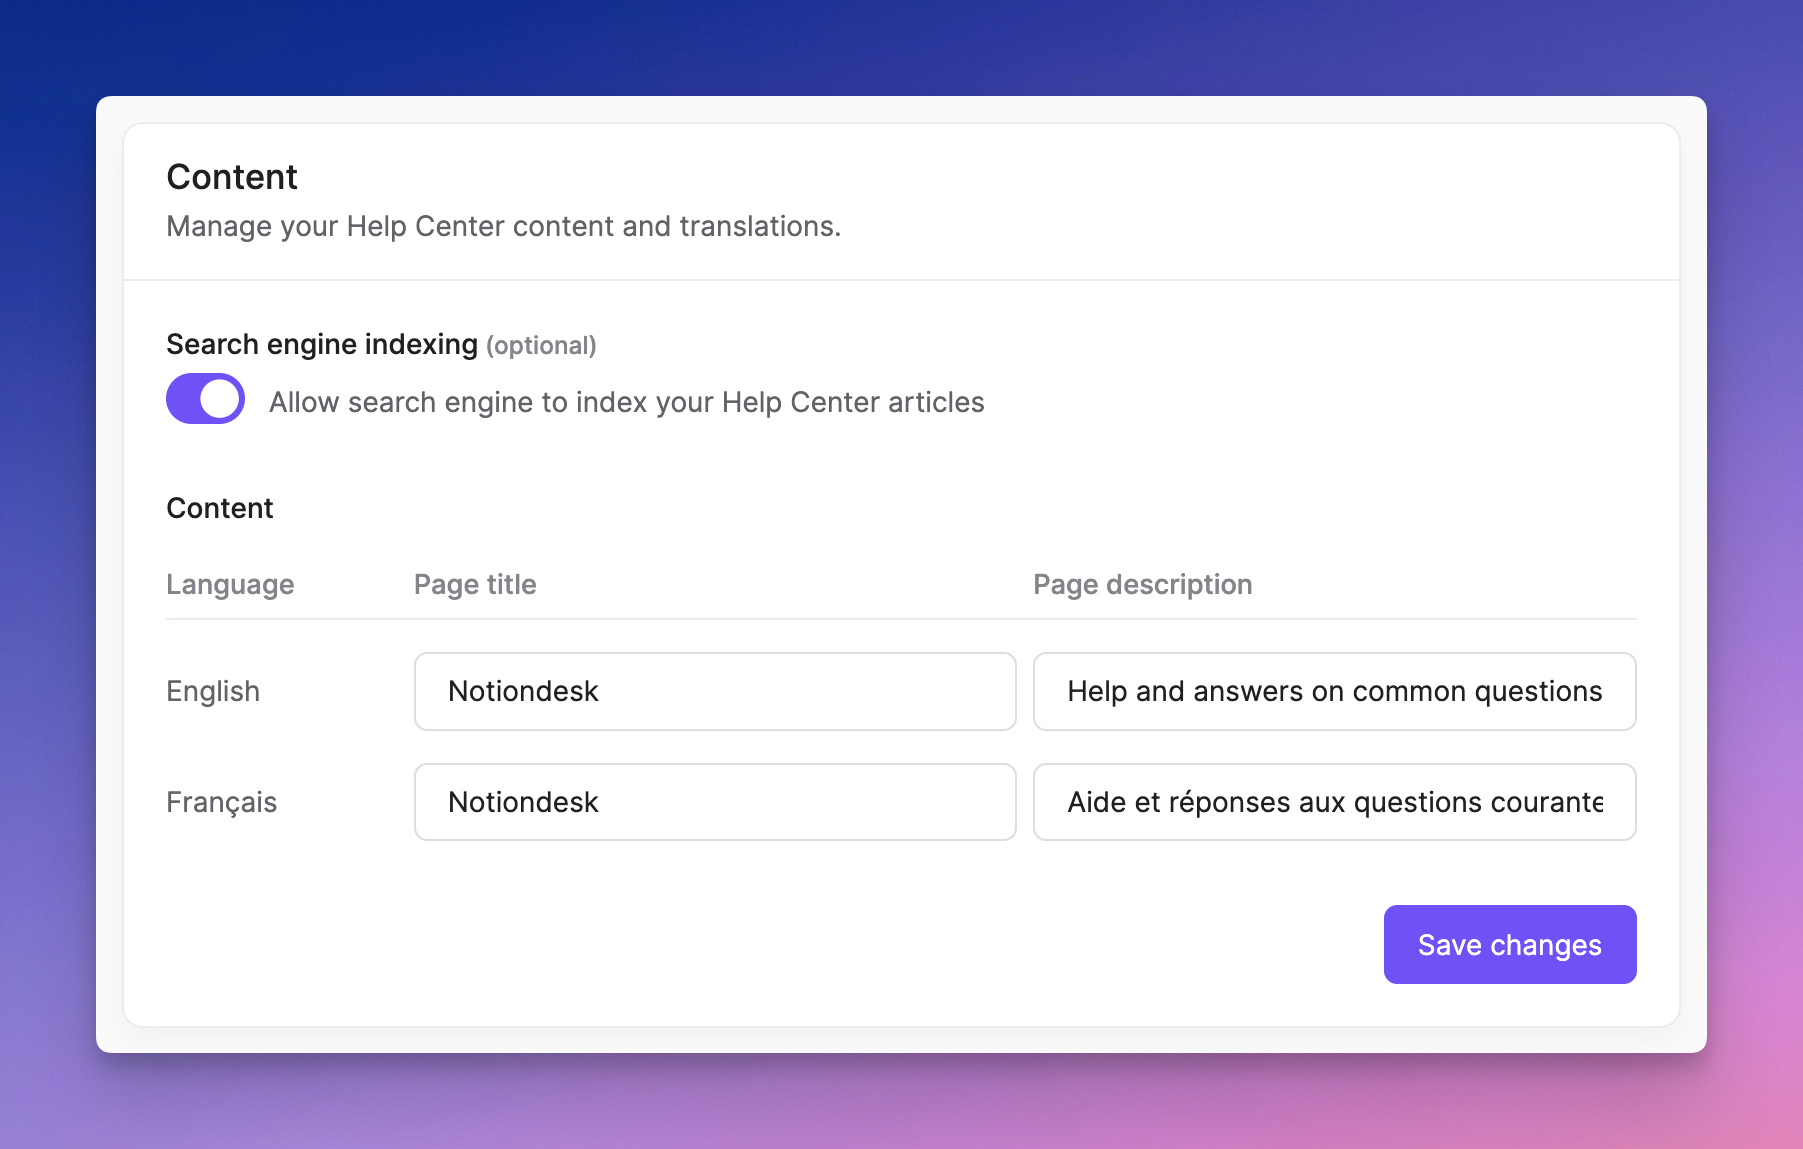
5. Optimizing for SEO
SEO is crucial for your help center's visibility. Thankfully, Notiondesk has built-in SEO optimization features to ensure your help center is ready to be listed on major search engines.
In your Notiondesk dashboard, you can add relevant metadata, including page titles and descriptions, that help search engines understand and rank your content.
With these SEO features, you're not just helping your customers. You're also drawing in potential customers through search engine visibility.
6. Creating a Multilingual Knowledge Base
Last but certainly not least, Notiondesk allows you to create a multilingual knowledge base. This is particularly useful if your user base is spread across different countries and languages.
In the Notiondesk dashboard, you can add translations for your content and enable language selection for your users.
With these features, you ensure that your help center is accessible to as many customers as possible, regardless of their preferred language.
4. Conclusion
Voilà! We've walked you through creating a help center using Notion and enhancing it with Notiondesk.
We demonstrated how to start with a simple, Notion-based help center and then elevate it to a full-fledged, customizable, and SEO-friendly hub using Notiondesk.
Remember, a dynamic help center that evolves with your product is essential. Continuously update and refine your content to provide customers with the most up-to-date information. After all, a well-informed customer is a happy customer!