A well-organized Knowledge Base is crucial for improving internal documentation, customer support resources, and overall efficiency. While Notion offers a powerful platform for creating and managing a Knowledge Base, the vast array of features and customization options can be overwhelming for users. In this article, we'll share 5 expert tips to optimize your Notion Knowledge Base, ensuring a seamless experience for both internal teams and customers. Let's dive in and discover how to take your Notion Knowledge Base to the next level!
TABLE OF CONTENTS
- Tip 1: Implement a consistent hierarchical structure
- Tip 2: Utilize templates for efficient content creation
- Tip 3: Integrate Notiondesk for a seamless help center experience
- Tip 4: Streamline internal documentation using tags and filters
- Tip 5: Build customer support portals with custom Notion pages
Tip 1: Implement a consistent hierarchical structure
One of the key factors in creating an organized and user-friendly Notion Knowledge Base is implementing a consistent hierarchical structure. A well-thought-out hierarchy ensures that content is logically grouped and easy to navigate, making it simple for users to find the information they need.
Best practices for Notion knowledge base
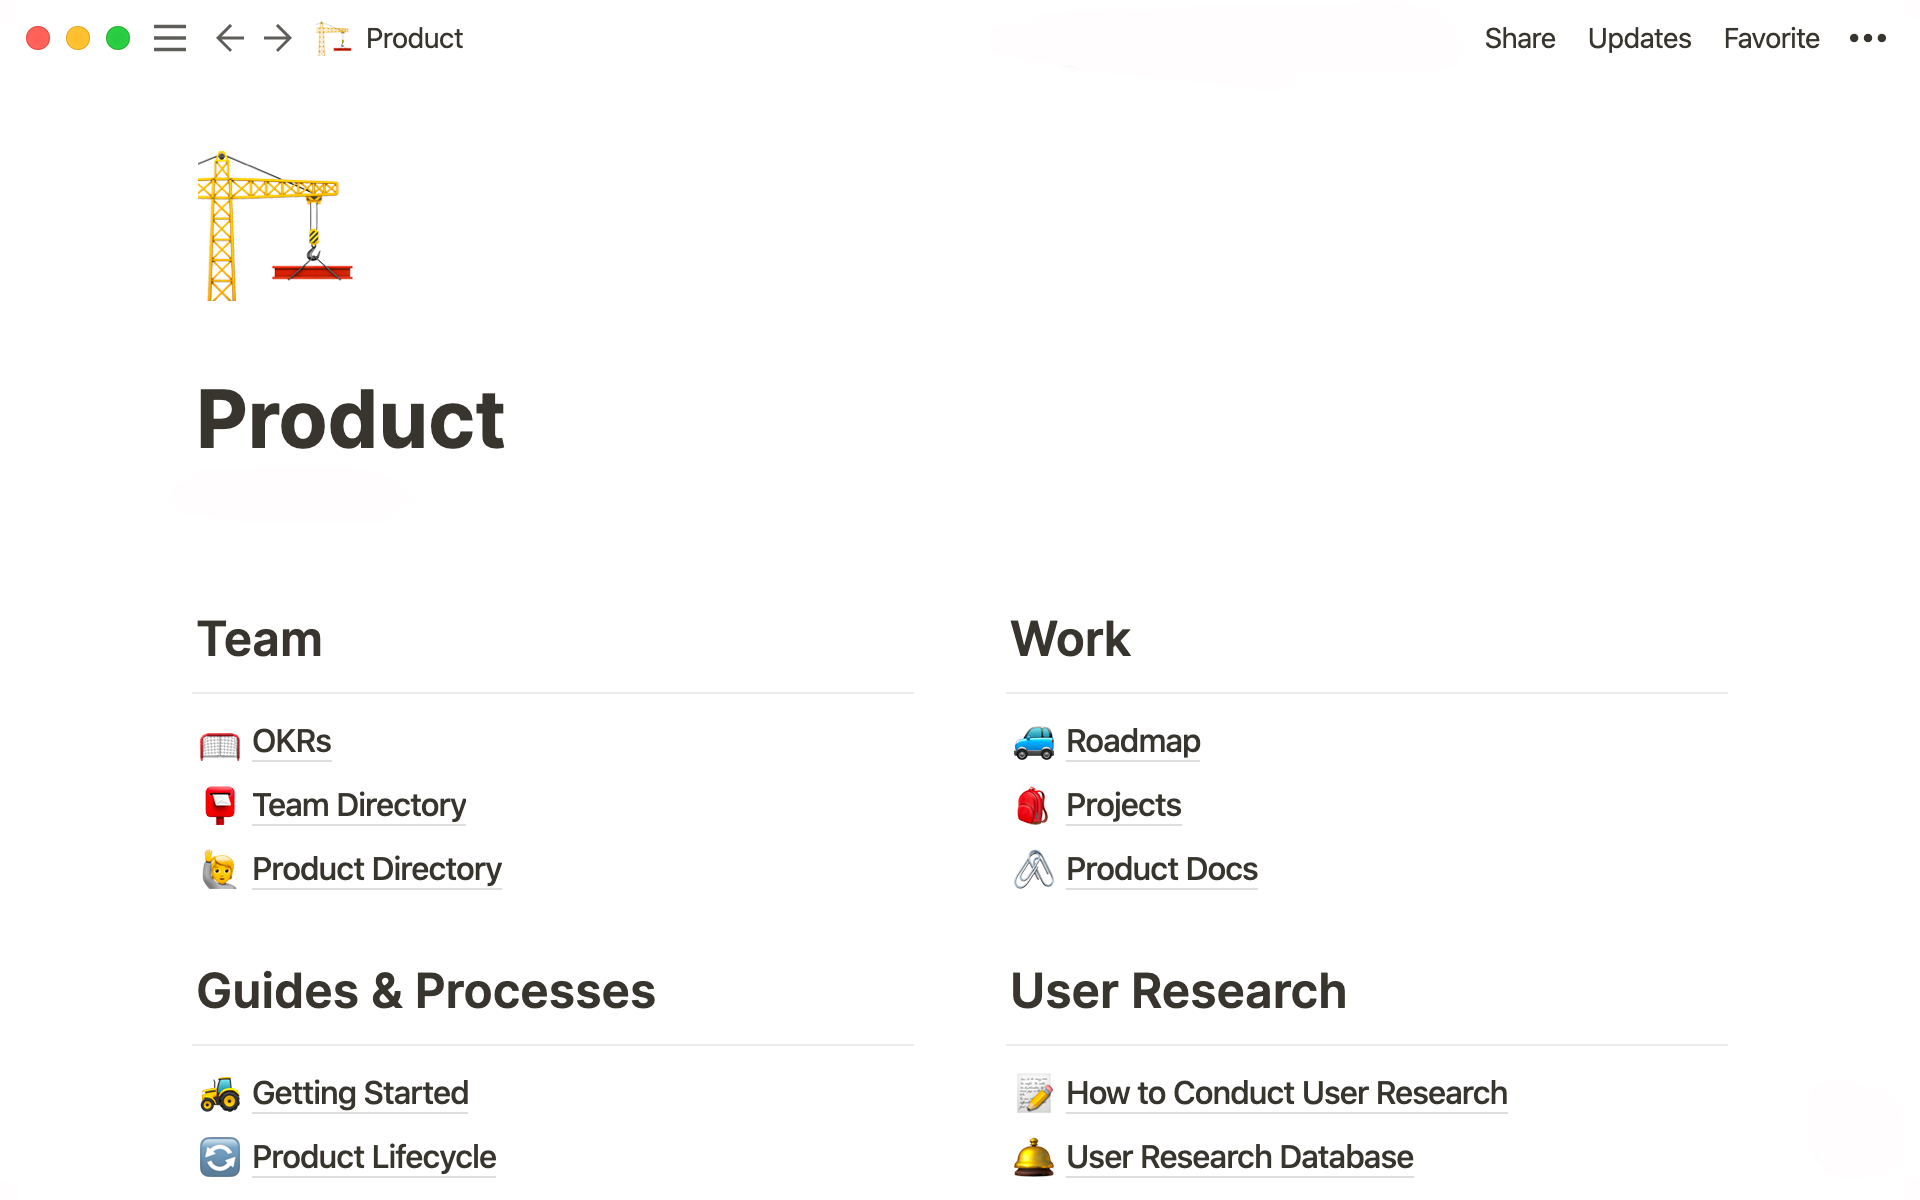
- Define top-level categories: Start by identifying the main categories of information that your Knowledge Base will cover. These top-level categories will serve as the foundation for organizing your content. For example, you might have categories like "Product Documentation," "Company Policies," and "Customer Support."
- Organize subcategories and pages: Within each top-level category, create relevant subcategories and pages to organize your content further. For example, under "Product Documentation," you might have subcategories like "Getting Started," "Features," and "Troubleshooting."
- Use nested pages: Notion allows you to create nested pages within parent pages, which is a great way to create a multi-level hierarchy. Use nested pages to break down complex topics into smaller, more manageable sections.
The benefits of a well-structured workspace
- Improved navigation: A clear hierarchy makes it easy for users to navigate your Knowledge Base and quickly locate the information they're looking for.
- Reduced clutter: By grouping related content together, you can reduce clutter and make your Knowledge Base more visually appealing.
- Easier maintenance: A well-organized structure makes it easier to update and maintain your Knowledge Base over time. You'll know exactly where to add new content or make changes.
Examples of effective hierarchy
To illustrate the concept of an effective hierarchy, let's consider a hypothetical Knowledge Base for a software company:
- Product Documentation
- Getting Started
- Installation Guide
- User Registration
- Features
- Feature A
- Feature B
- Troubleshooting
- Common Issues
- Error Codes
- Getting Started
By implementing a consistent hierarchical structure, you'll create a Knowledge Base that is both user-friendly and efficient, enhancing the overall experience for your team and customers.
Tip 2: Utilize templates for efficient content creation
Creating and maintaining a Knowledge Base involves generating a significant amount of content. To streamline this process and ensure consistency across your Knowledge Base, it's a good idea to utilize templates in Notion.
Improving Notion workspace organization
- Create Custom Templates: Notion allows you to create custom templates for pages and databases. By designing templates for common types of content, you can save time and maintain a consistent format. For example, you could create a template for product guides, FAQs, or policy documents.
- Standardize Formatting: Use templates to standardize the formatting and layout of your Knowledge Base content. Consistent formatting makes your Knowledge Base easier to read and navigate, and it gives your content a professional appearance.
- Include Placeholder Content: In your templates, include placeholder content that guides users on what information to include and how to structure it. This is especially helpful when multiple team members are contributing to the Knowledge Base.
How to create and use templates in Notion
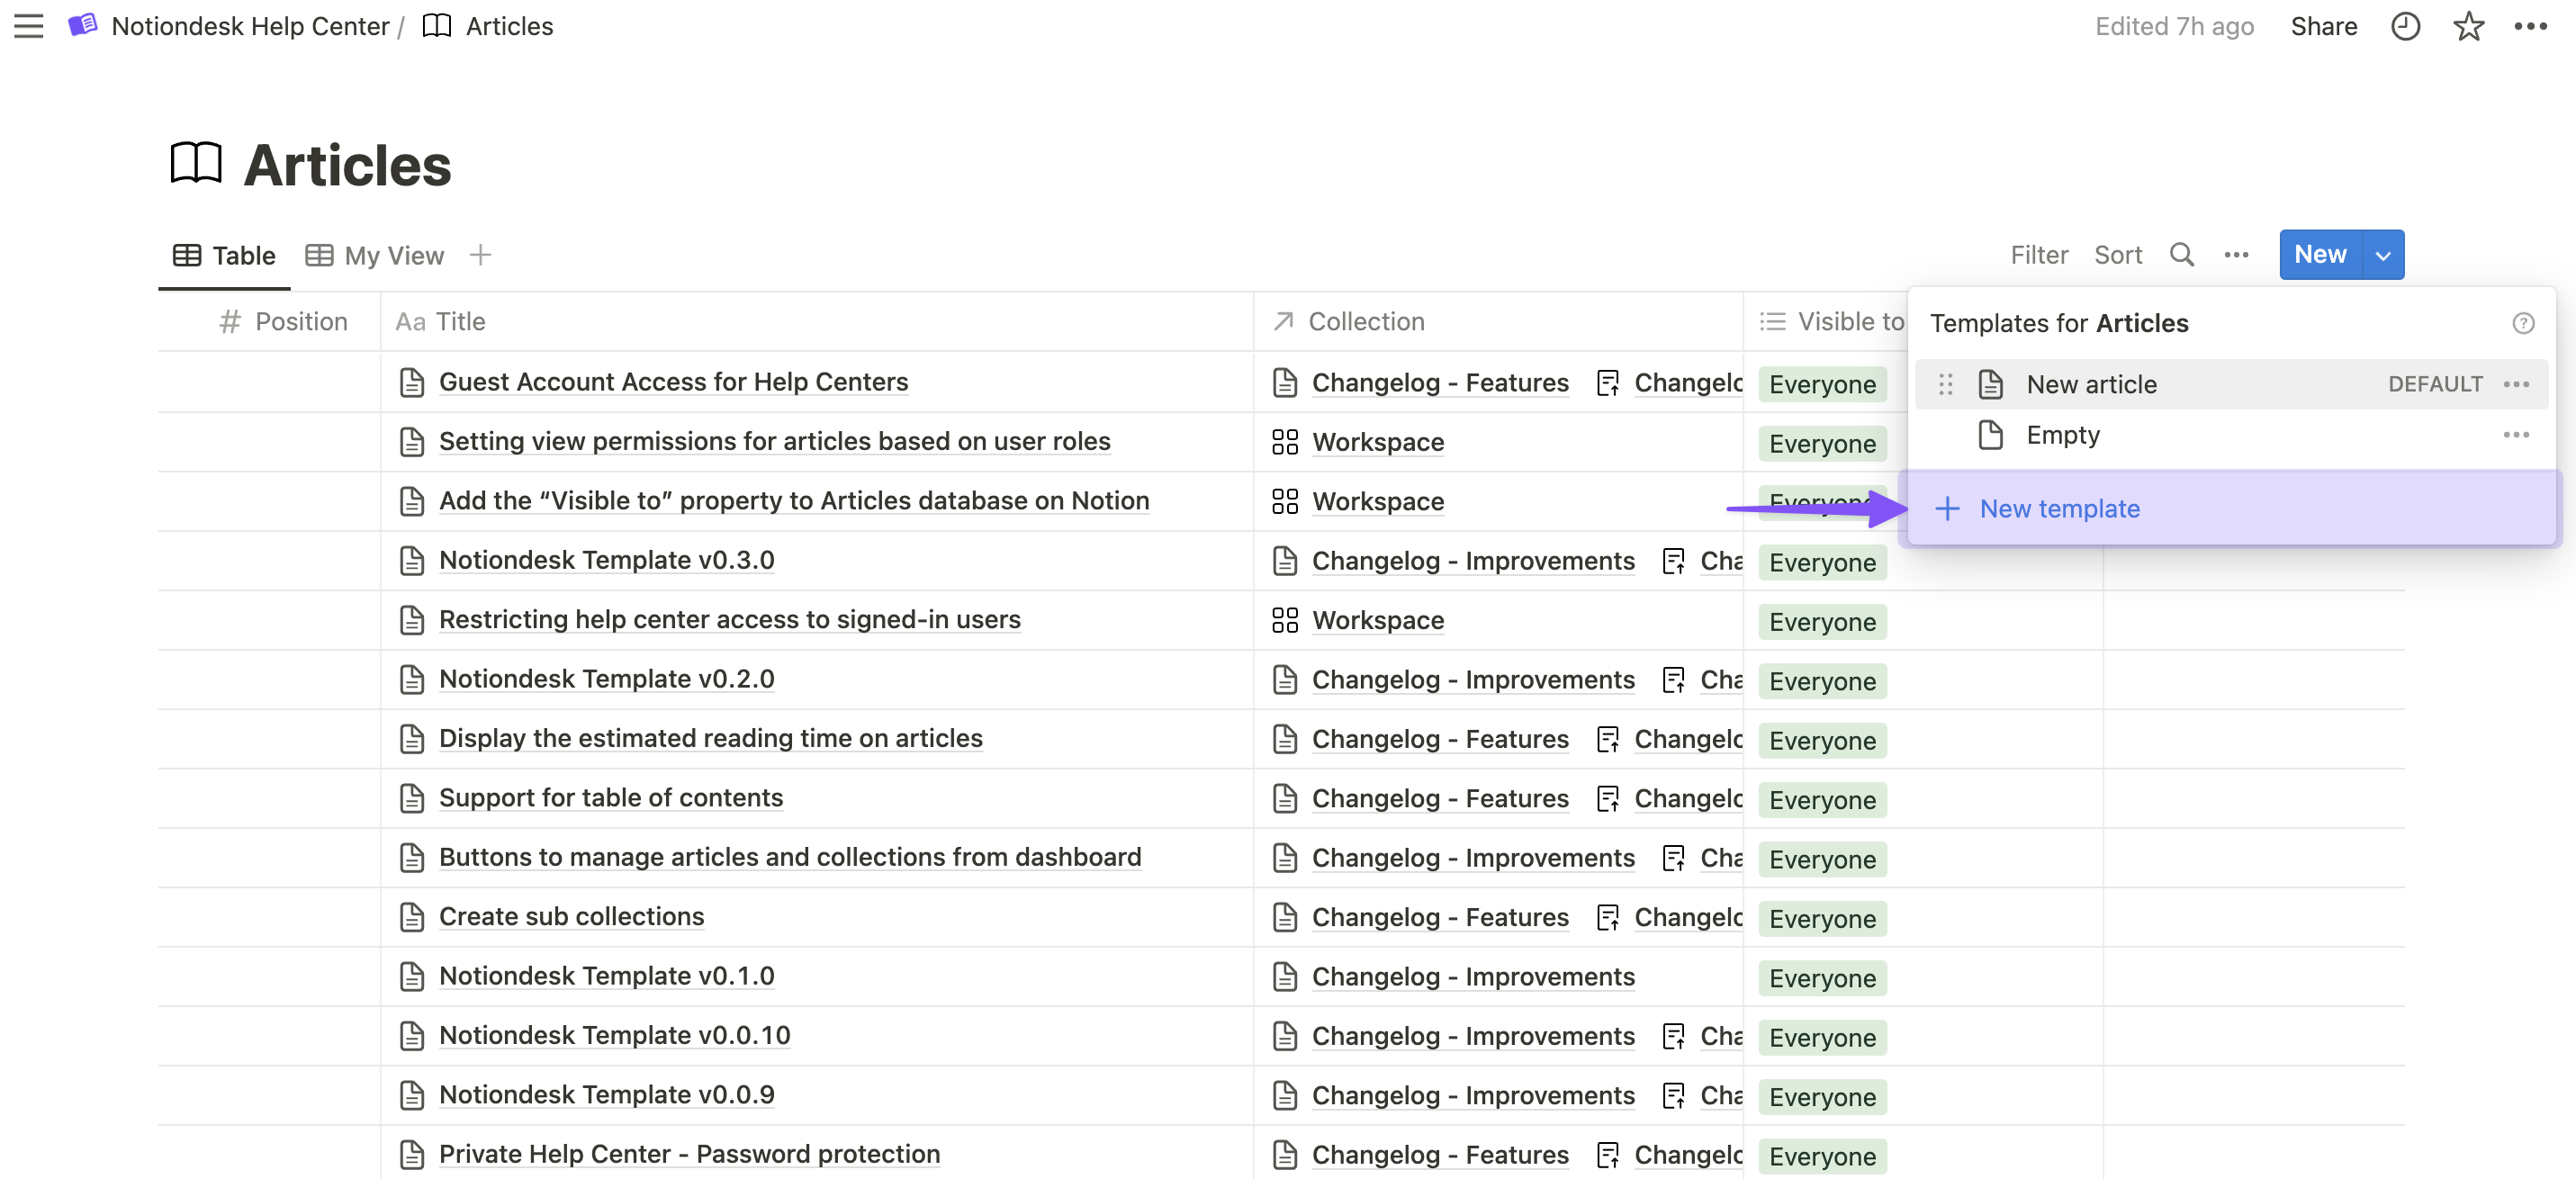
- Create a New Template: In a Notion database or page, click on the "Templates" button at the top right. Then, click on "New Template" to start creating your custom template.
- Design Your Template: Use Notion's rich editing features to design the layout and formatting of your template. Add placeholder content, headings, bullet points, and any other elements you want to include.
- Save Your Template: Once you're satisfied with your template design, click on "Done" to save it.
- Use Your Template: To create a new page or database entry using your template, simply click on the "Templates" button again and select the template you want to use. The new page will be pre-populated with the content and formatting from your template.
By utilizing templates in Notion, you can simplify content creation, maintain consistency, and ensure that your Knowledge Base is well-organized and easy to navigate. Templates are a powerful tool for enhancing the efficiency and effectiveness of your Notion Knowledge Base.
Tip 3: Integrate Notiondesk for a seamless help center experience
While Notion is a powerful tool for creating and organizing your Knowledge Base, you can further enhance its capabilities by integrating Notiondesk—a tool designed to build a Help Center or Knowledge Base with Notion. Notiondesk provides additional features and customization options that can elevate your Knowledge Base to new heights.
Notiondesk for efficient knowledge sharing
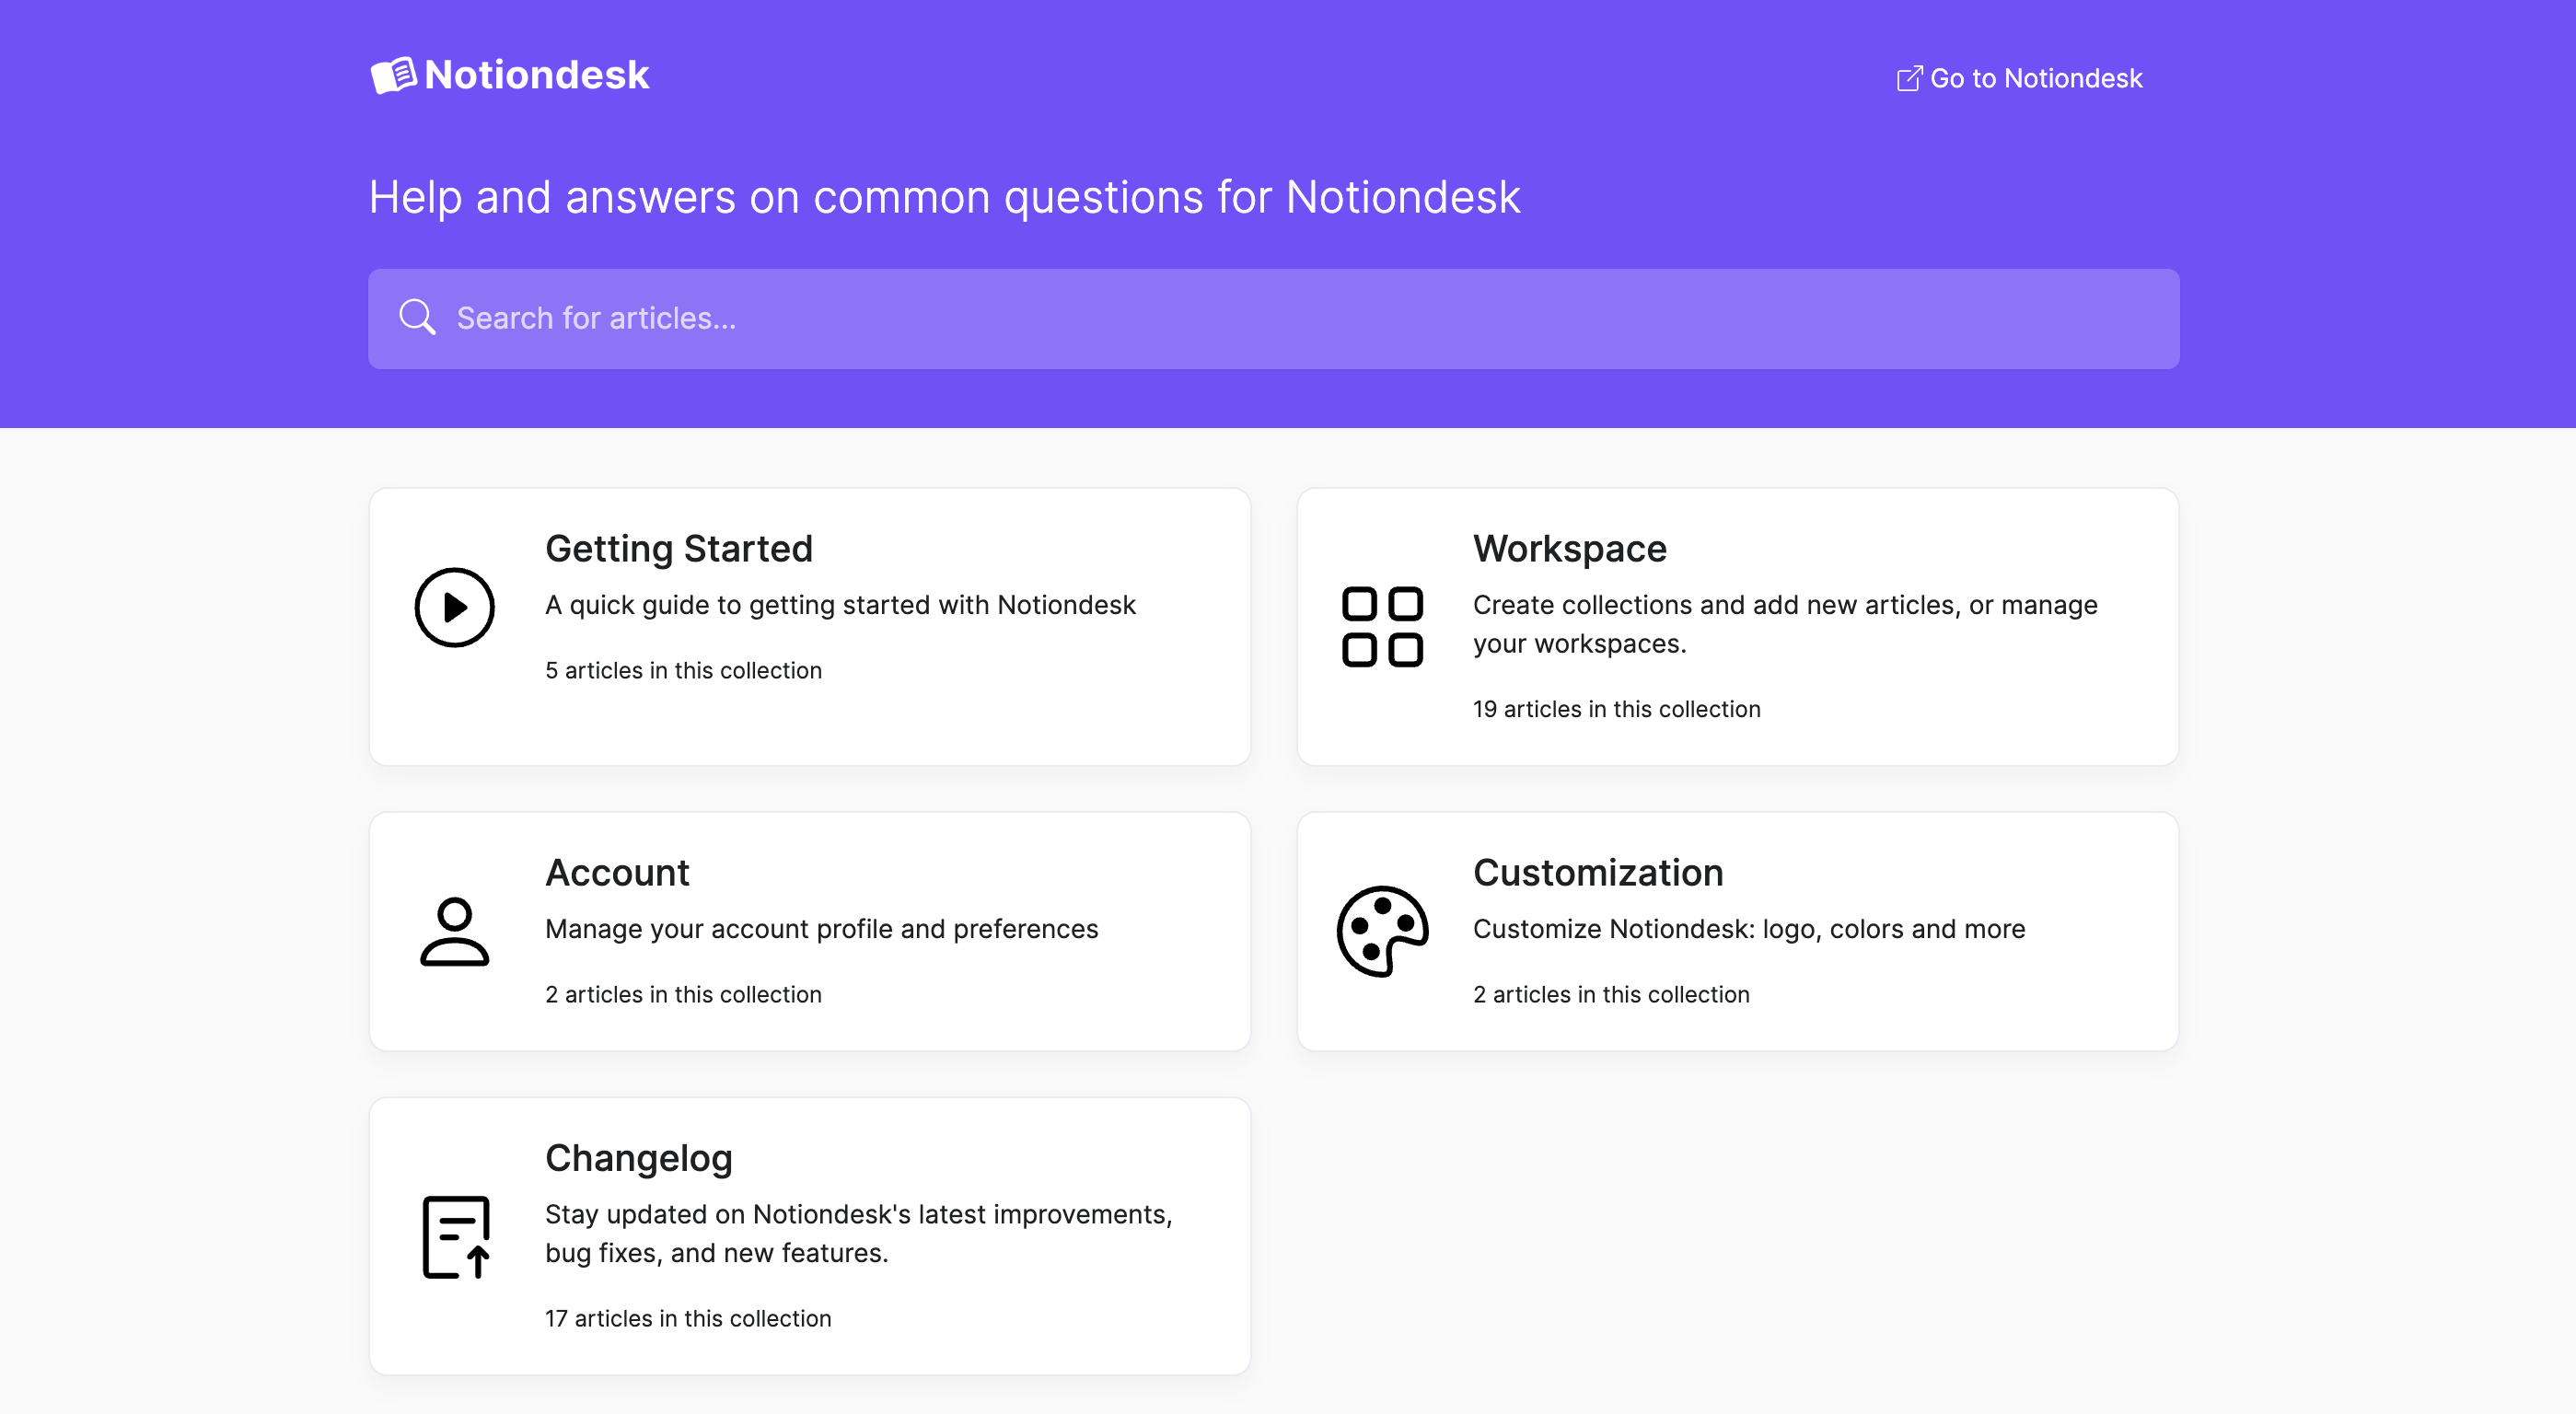
- Seamless Integration: Notiondesk integrates seamlessly with your existing Notion workspace, allowing you to transform your Notion pages into a fully functional Help Center or Knowledge Base.
- Custom Domain and Branding: With Notiondesk, you can set up a custom domain for your Knowledge Base and customize its appearance to match your brand. This creates a cohesive and professional look for your Help Center.
- Advanced Search and Navigation: Notiondesk offers advanced search functionality, making it easier for users to find the information they need. Additionally, you can create custom navigation menus to guide users through your Knowledge Base.
- Access Control and Permissions: Notiondesk allows you to set up access control and permissions for your Knowledge Base. You can choose who can view specific content, making it ideal for both internal and customer-facing Knowledge Bases.
Tip 4: Streamline internal documentation using tags and filters
As your Notion Knowledge Base grows, it becomes increasingly important to have an effective system for organizing and categorizing content. One of the best ways to achieve this is by using tags and filters in Notion.
Streamlining internal documentation with Notion
- Leverage tags for categorization: Tags are a versatile way to categorize and label content in your Knowledge Base. You can use tags to indicate the type of content (e.g., "Guide," "FAQ," "Policy"), the department it belongs to (e.g., "HR," "IT," "Sales"), or any other relevant information.
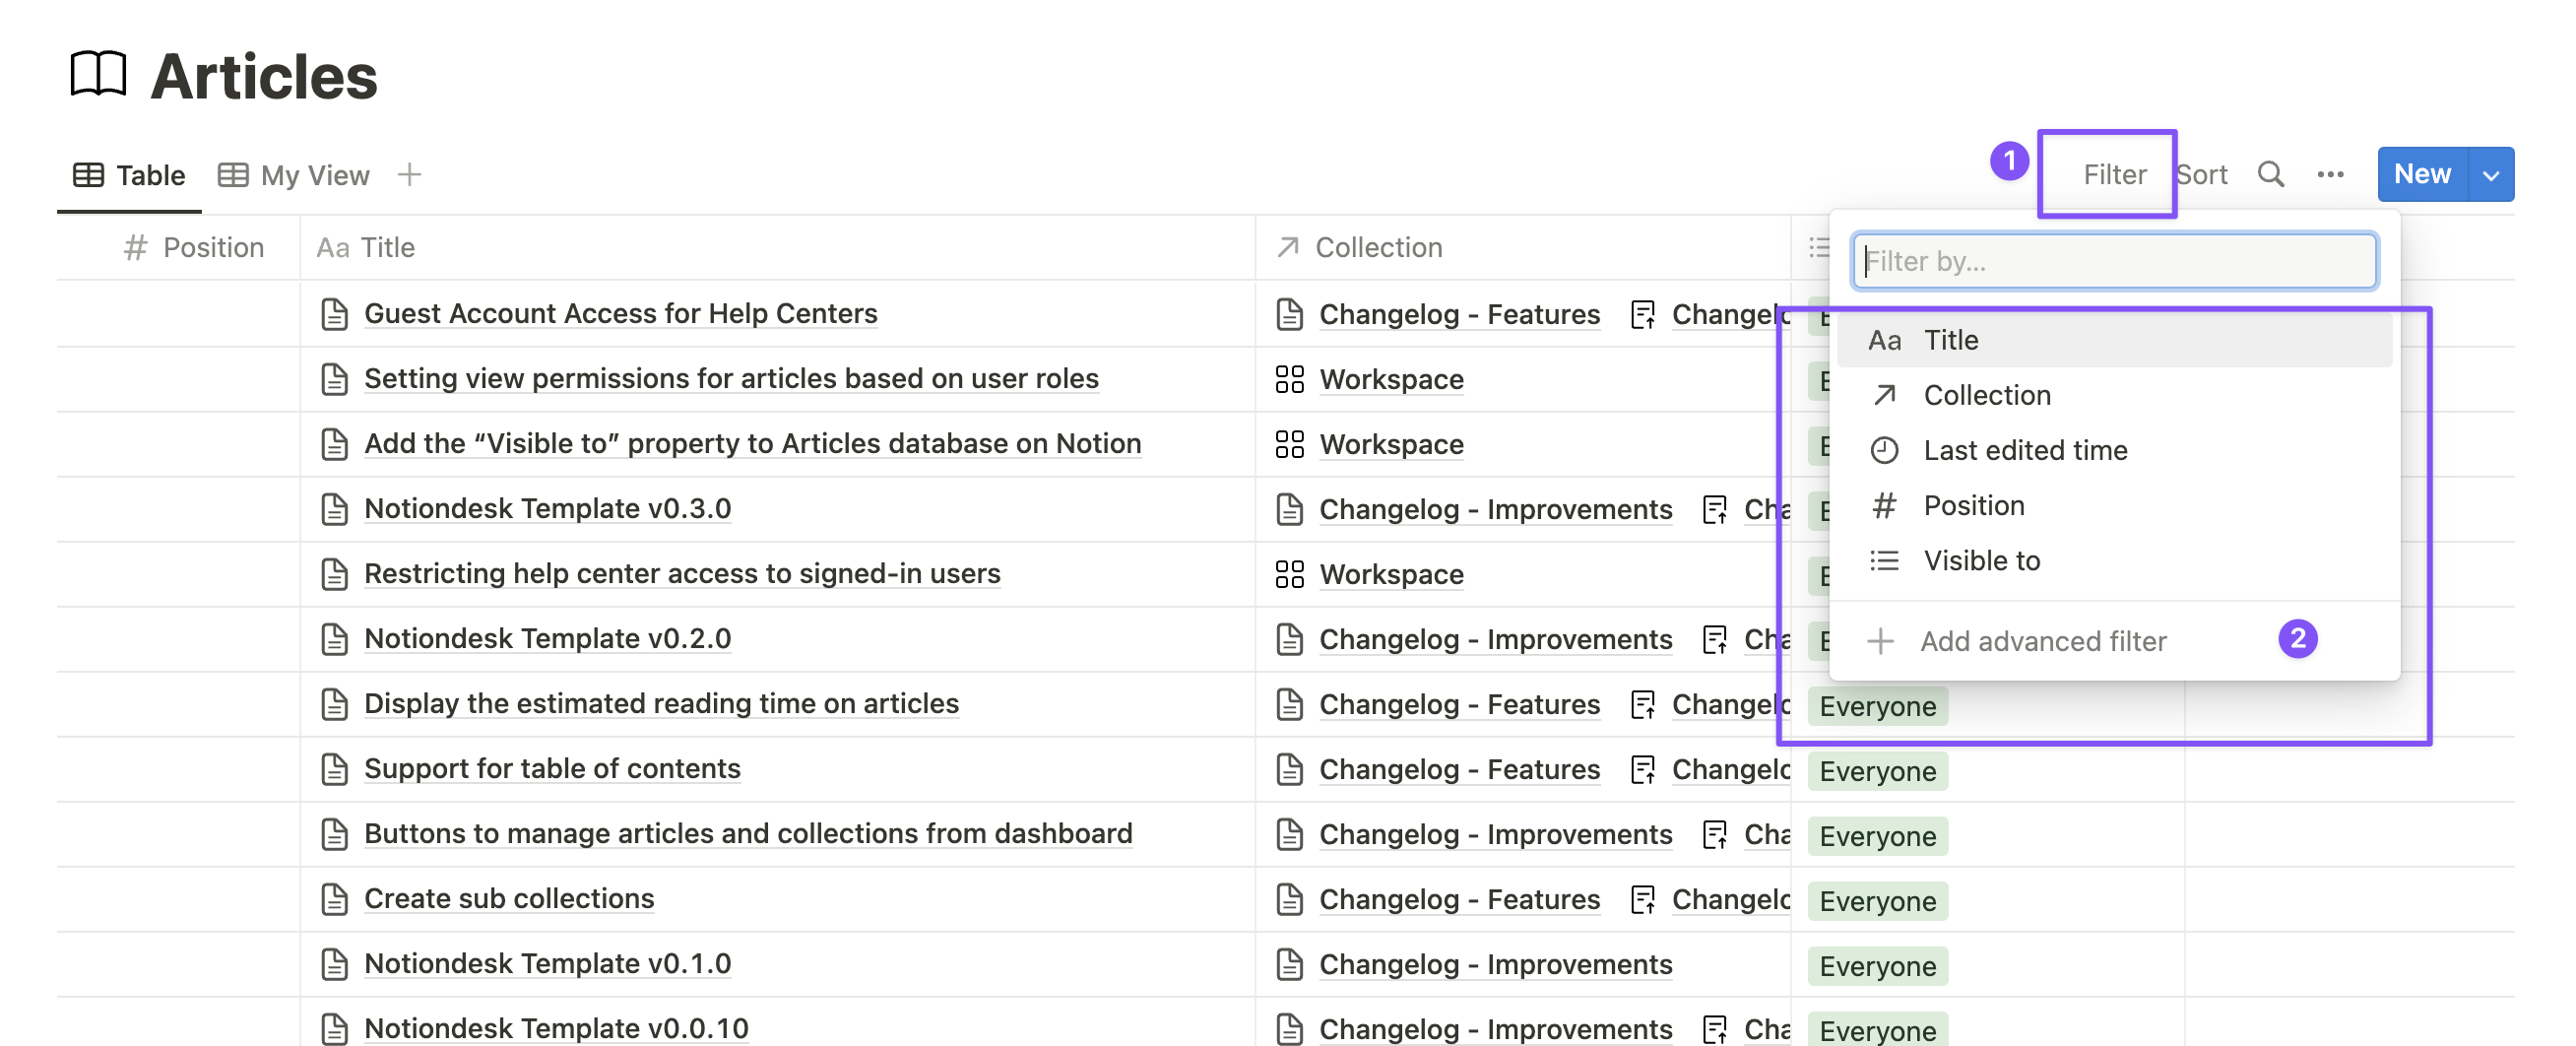
- Filter content for easy access: Notion's powerful filtering capabilities allow you to quickly narrow down and display specific content based on tags or other criteria. For example, you can create a filtered view that only shows "Product Guides" tagged with "Feature A."
- Combine tags and filters for enhanced organization: By using tags in combination with filters, you can create highly organized and dynamic views of your Knowledge Base content. This makes it easier for team members and customers to find relevant information.
Examples of effective tag usage
Here are some examples of how tags can be used effectively in a Notion Knowledge Base:
- Content type tags: Use tags like "Tutorial," "Troubleshooting," and "Announcement" to indicate the type of content. This helps users quickly identify the information they need.
- Department or team tags: If your Knowledge Base serves multiple departments or teams, use tags like "Marketing," "Engineering," and "Customer Support" to categorize content by the relevant group.
- Topic or subject tags: Use tags to group content by specific topics or subjects, such as "Onboarding," "Security," or "Billing." This makes it easier to browse related content.
Incorporating tags and filters into your Notion Knowledge Base is a strategic approach to managing internal documentation. With this approach, you'll enhance the user experience, improve content accessibility, and create a well-organized system that serves your team and customers effectively.
Tip 5: Build customer support portals with custom Notion pages
Providing excellent customer support is a key aspect of any successful business. With Notion, you can create custom support portals that serve as a valuable resource for your customers, offering answers to common questions, product guides, and more.
Creating customer support portals with Notion
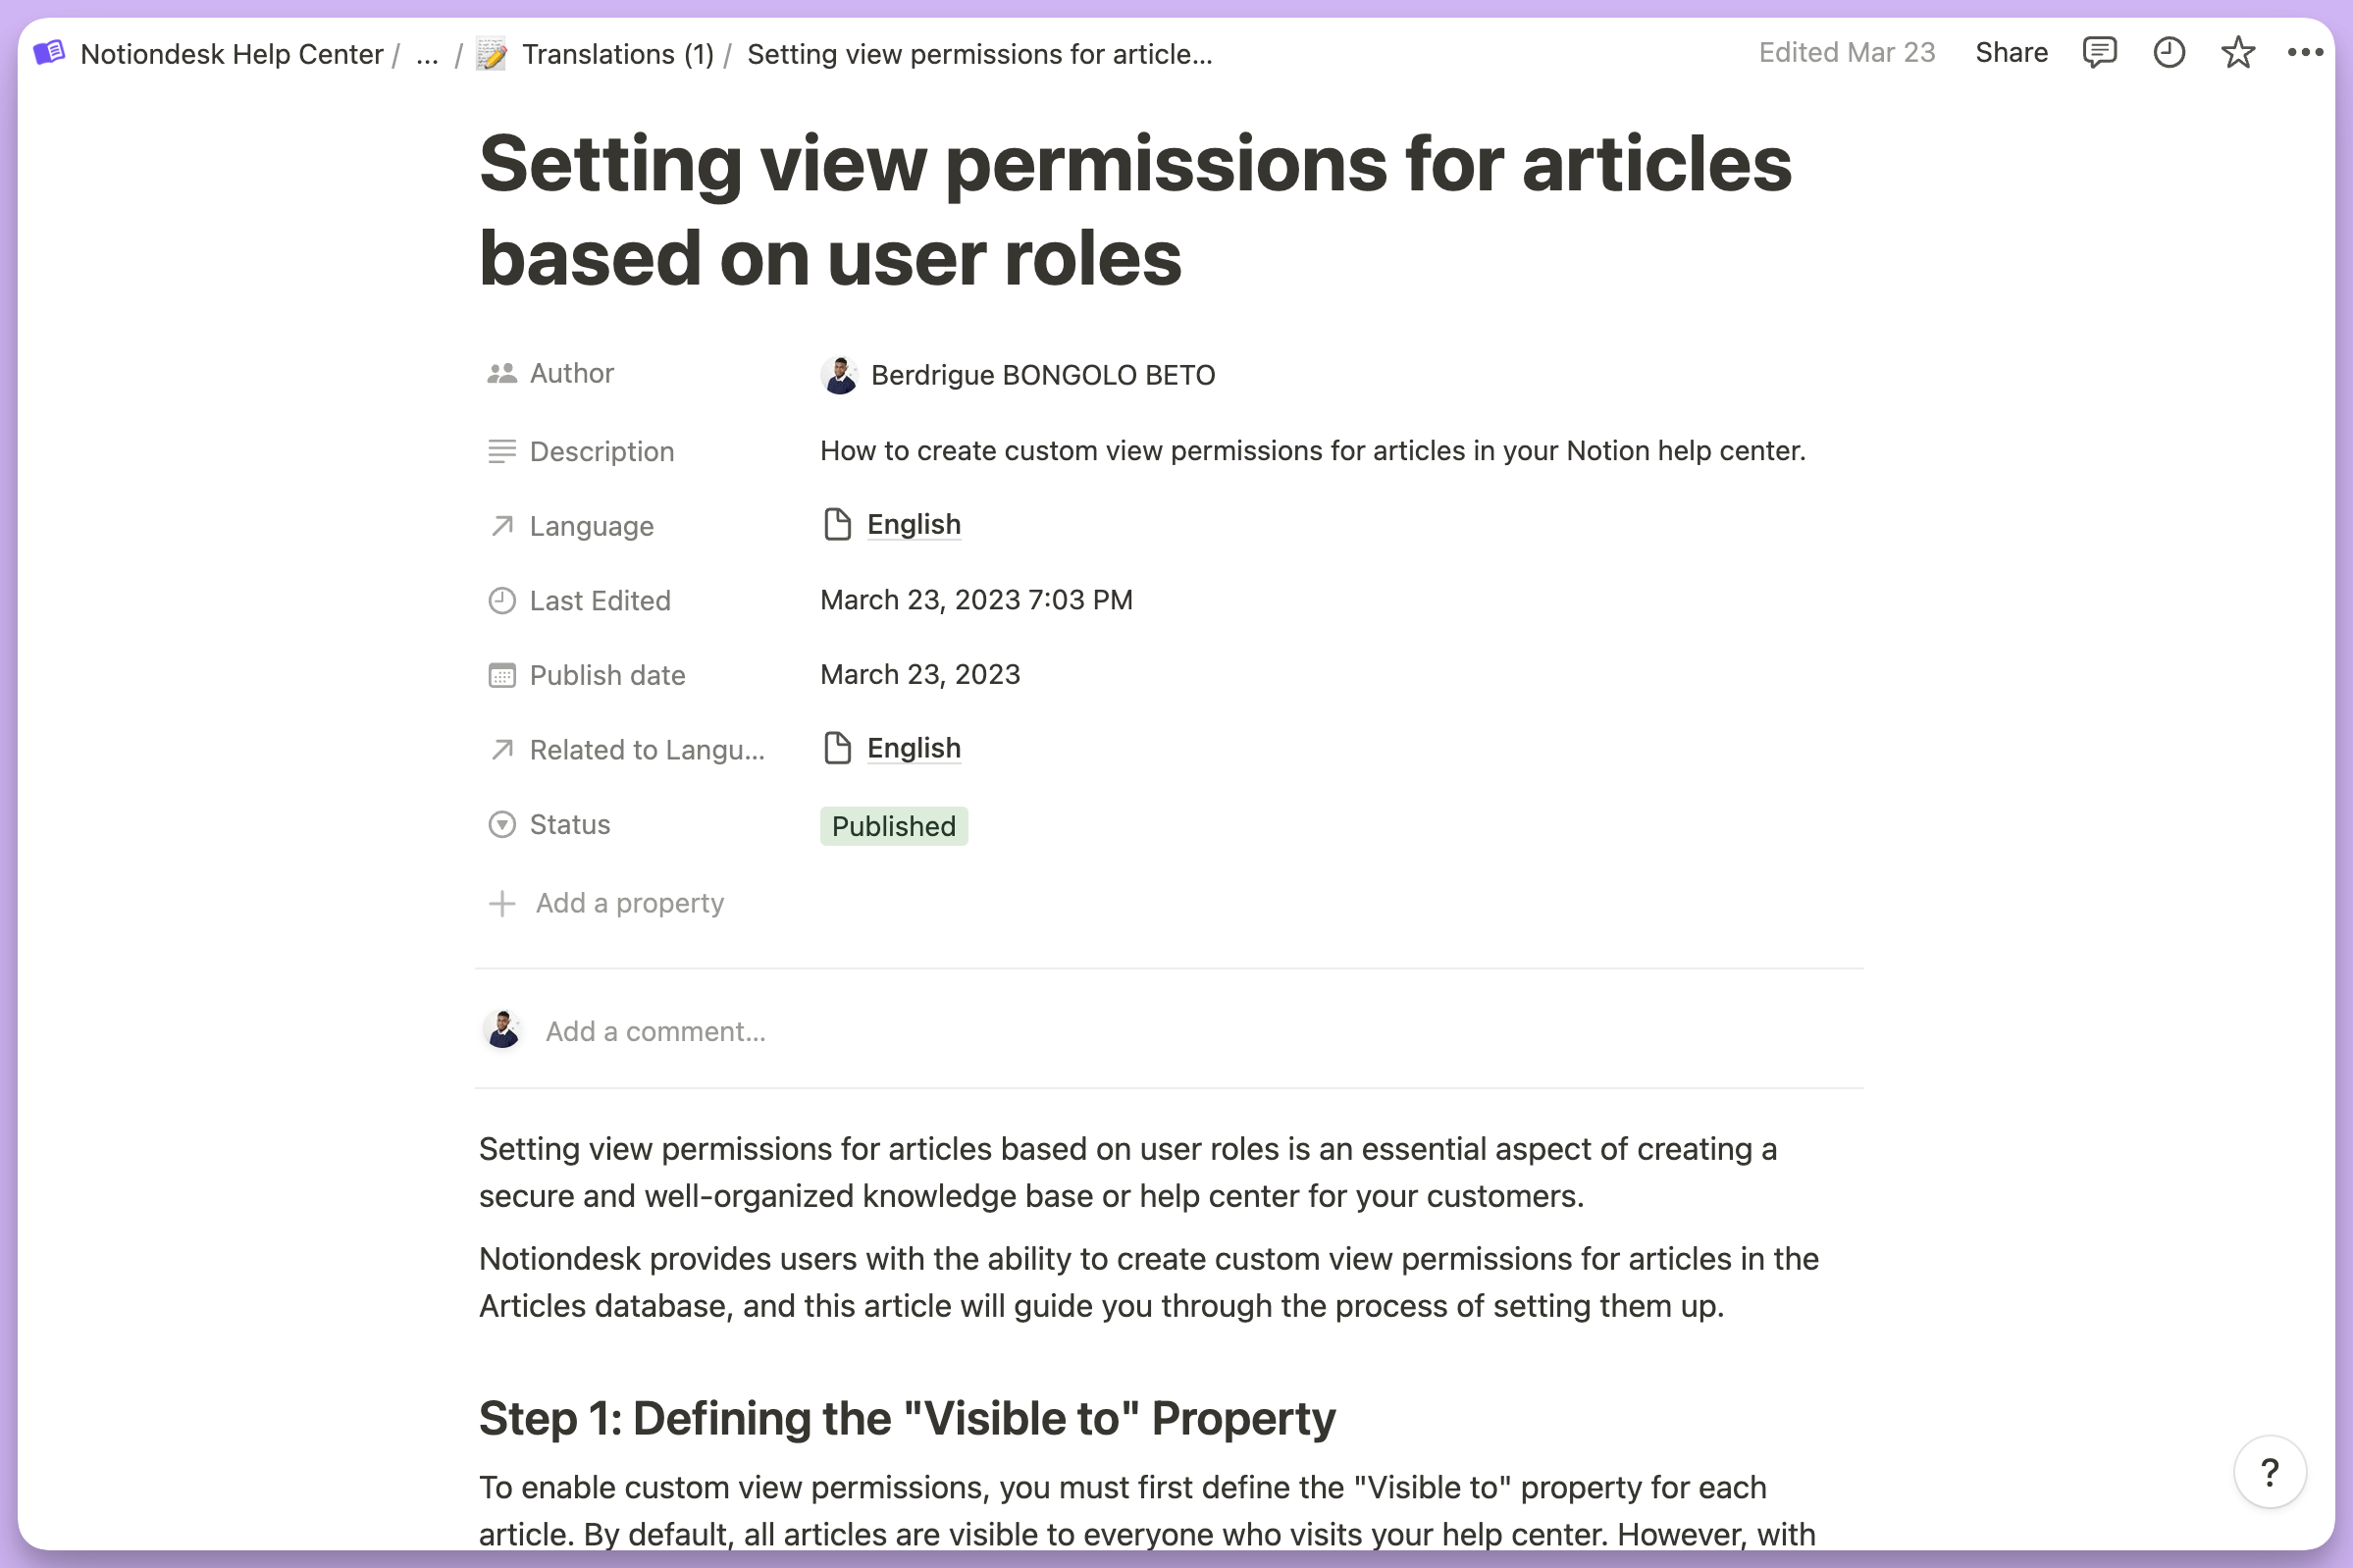
- Design User-Friendly Pages: Create visually appealing and easy-to-navigate pages in Notion that serve as the foundation of your customer support portal. Use headings, bullet points, and images to make content easily digestible.
- Organize Content by Topic: Group support content by topic or category to make it easy for customers to find relevant information. For example, you might have sections for "Getting Started," "Account Management," and "Troubleshooting."
- Include Interactive Elements: Enhance your support portal by adding interactive elements such as embedded videos, collapsible sections, and linked databases. These features can make your support content more engaging and helpful.
- Provide Contact Information: Ensure that customers know how to reach your support team if they need further assistance. Include contact information, such as email addresses, phone numbers, and links to support tickets, on your support portal.
Steps to create an effective customer support portal
- Plan Your Support Content: Determine what types of content you want to include in your support portal. This might include FAQs, product guides, video tutorials, and more.
- Create and Design Notion Pages: Use Notion's rich editing features to create and design the pages for your support portal. Ensure that the layout is clean and easy to navigate.
- Organize and Categorize Content: Use the tips from previous sections to organize and categorize your support content. Implement a consistent hierarchical structure and use tags and filters as needed.
- Test and Refine: Before making your support portal publicly accessible, test it with a small group of users to gather feedback. Make any necessary adjustments to improve the user experience.
- Publish and Share: Once your support portal is ready, publish it and share the link with your customers. Promote the portal on your website, in email communications, and through other marketing channels.
A well-designed customer support portal built with Notion can significantly enhance the customer experience and reduce the workload for your support team. By providing customers with easy access to helpful resources, you'll foster positive relationships and build trust in your brand.
In conclusion, optimizing your Notion Knowledge Base is essential for improving efficiency, organization, and user experience. By implementing a consistent hierarchical structure, utilizing templates, integrating Notiondesk, leveraging tags and filters, and building customer support portals, you'll create a more effective and user-friendly Knowledge Base for your team and customers. Start applying these tips today, and take your Notion Knowledge Base to new heights!
